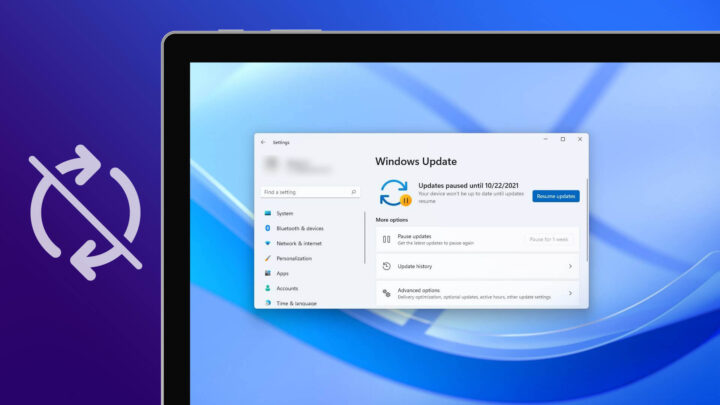
Tips & Tricks **What is Windows Auto Update? And How to Disable Windows Update Completely** Windows Auto Update is a feature designed to keep your operating system running smoothly by automatically downloading and installing software patches, security updates, and driver improvements. While these updates are essential for maintaining system security and stability, they can sometimes become a source of frustration for users. Many users find that automatic updates can trigger unexpected system restarts, consume significant bandwidth, or cause performance issues during critical tasks. If you find these interruptions disruptive, you may want to know how to manage or entirely disable the Windows Update service. ### **What is Windows Auto Update?** Windows Auto Update is a built-in mechanism within the Windows operating system that manages the lifecycle of software updates. Its primary goal is to ensure that your PC is protected against the latest security threats and that new features are delivered seamlessly. The process typically involves several stages: * **Scanning:** The system checks Microsoft's servers to see if there are any new updates available for your specific hardware and software configuration. * **Downloading:** Once updates are identified, the system downloads the necessary files in the background. * **Installation:** The updates are staged and then installed, often requiring a system restart to finalize the changes. While this "set it and forget it" approach is ideal for most users, it can lead to issues for gamers, professionals working on time-sensitive projects, or those with limited internet data caps. ### **How to Disable Windows Update Completely** If you prefer to have manual control over when your system updates, there are several ways to disable the Windows Update service. Please note that disabling updates can leave your system vulnerable to security threats, so it is recommended to manually check for and install updates periodically. #### **Method 1: Disabling via Windows Services** This is one of the most common methods for stopping the update service from running in the background. 1. Press `Windows Key + R` on your keyboard to open the **Run** dialog box. 2. Type `services.msc` and press **Enter**. 3. In the Services window, scroll down until you find **Windows Update**. 4. Right-click on **Windows Update** and select **Properties**. 5. Under the **General** tab, find the **Startup type** dropdown menu and change it to **Disabled**. 6. Click **Stop** to halt the service immediately. 7. Click **Apply** and then **OK**. #### **Method 2: Disabling via Group Policy Editor (Pro and Enterprise Editions)** If you are using Windows Pro or Enterprise, the Group Policy Editor offers a more robust way to manage update behavior. 1. Press `Windows Key + R`, type `gpedit.msc`, and press **Enter**. 2. Navigate to the following path: `Computer Configuration > Administrative Templates > Windows Components > Windows Update` 3. In the right-hand pane, look for **Configure Automatic Updates**. 4. Double-click it and select **Disabled**. 5. Click **Apply** and then **OK**. #### **Method 3: Setting a Metered Connection** If your goal is simply to prevent Windows from using too much data, you can tell Windows that your internet connection is "metered." This will prevent the system from downloading large updates automatically. 1. Go to **Settings** > **Network & Internet**. 2. Select your current connection (Wi-Fi or Ethernet). 3. Toggle the switch for **Set as metered connection** to **On**. By using these methods, you can regain control over your system's update schedule, ensuring that your PC only restarts and installs updates when it is most convenient for you. 05/10/2024 · 5 min read