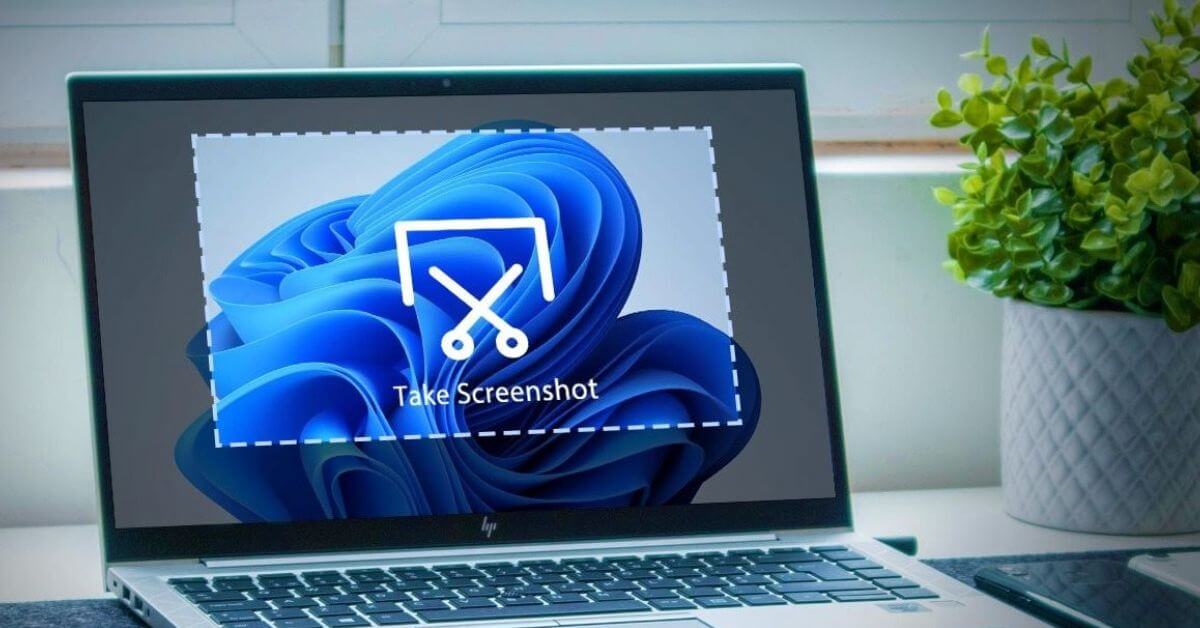
Taking screenshots on HP Computers is one of the basic yet extremely important features on HP Computers, helping you save information, images, or share content with others quickly. For HP computers, taking a screenshot is not only simple but also offers many different methods. In this article, Hưng Phát laptop will explore 7 extremely convenient ways to take screenshots on HP computers, from basic to advanced, suitable for both beginners and those looking to optimize their workflow.
7 Common and Quick Ways to Screenshot on HP Computers
Below are the ways to take screenshots on HP computers that you can refer to:
1. Using the Print Screen (PrtSc) Key
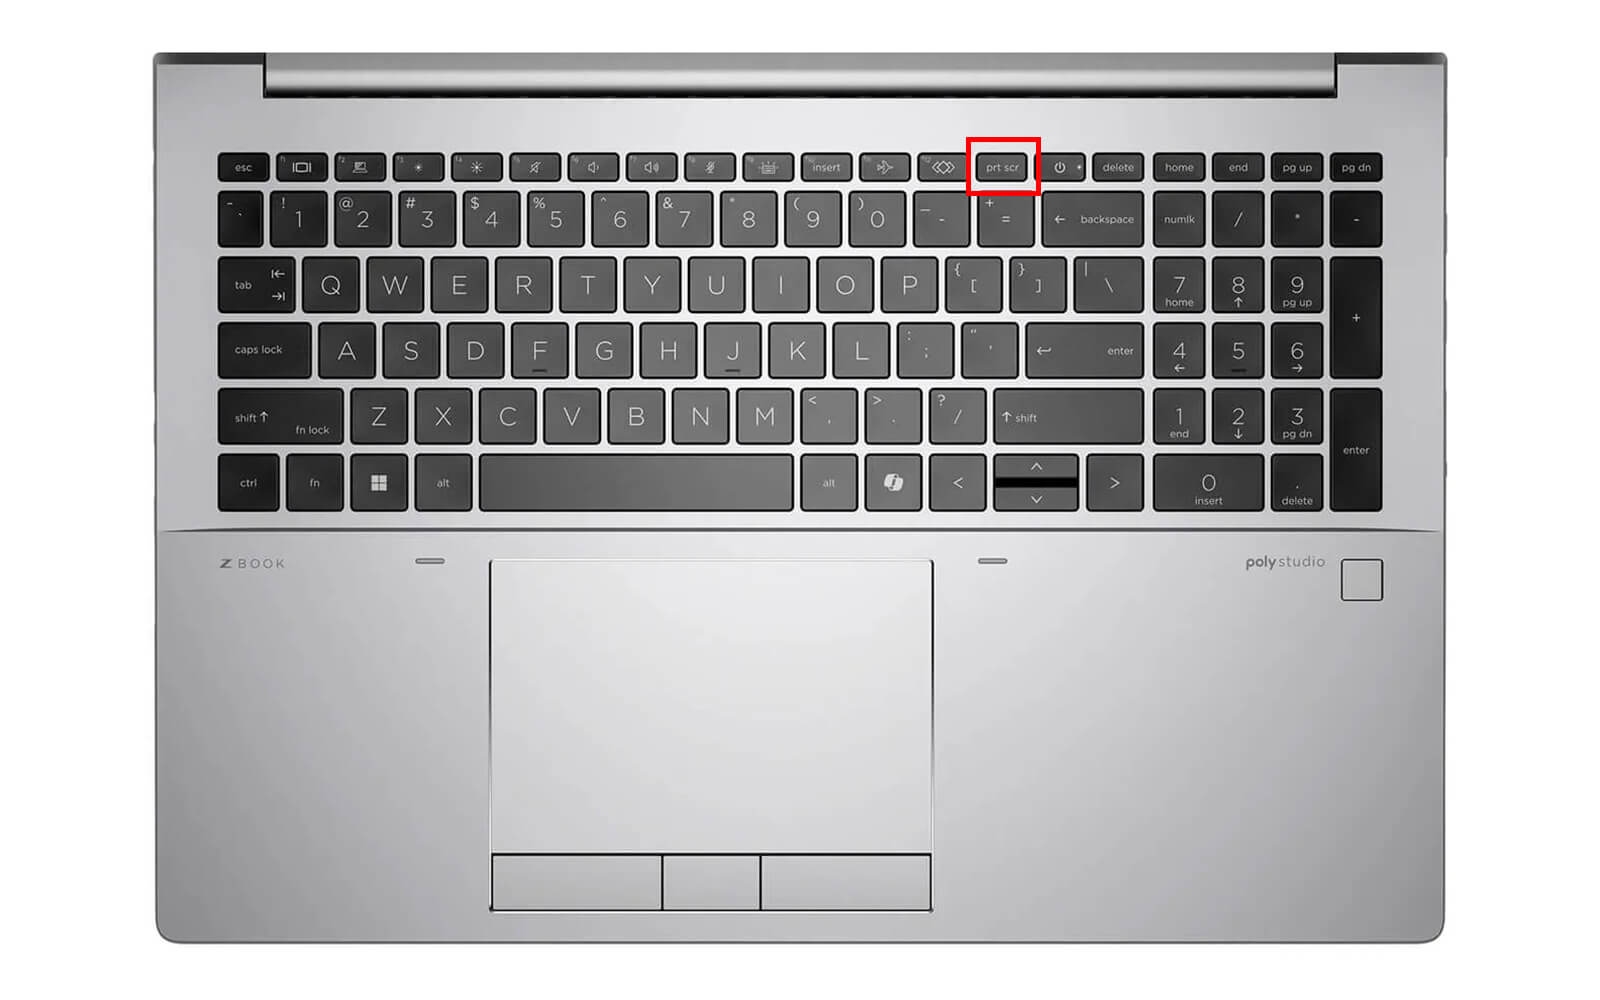
The Print Screen (PrtSc) key is one of the most common ways to take a screenshot. This method is simple and fast, suitable for capturing the entire screen.
- Step 1: Press the Print Screen key at the top right corner of your keyboard. This key is often labeled as PrtScn or PrtSc.
- Step 2: Open the Paint app or any other image editing program. You can find Paint in the Windows Start menu.
- Step 3: Paste the image into the app using the Ctrl + V shortcut.
- Step 4: Save the image by selecting File > Save As and choosing your desired image format.
2. Windows + Print Screen Key Combination
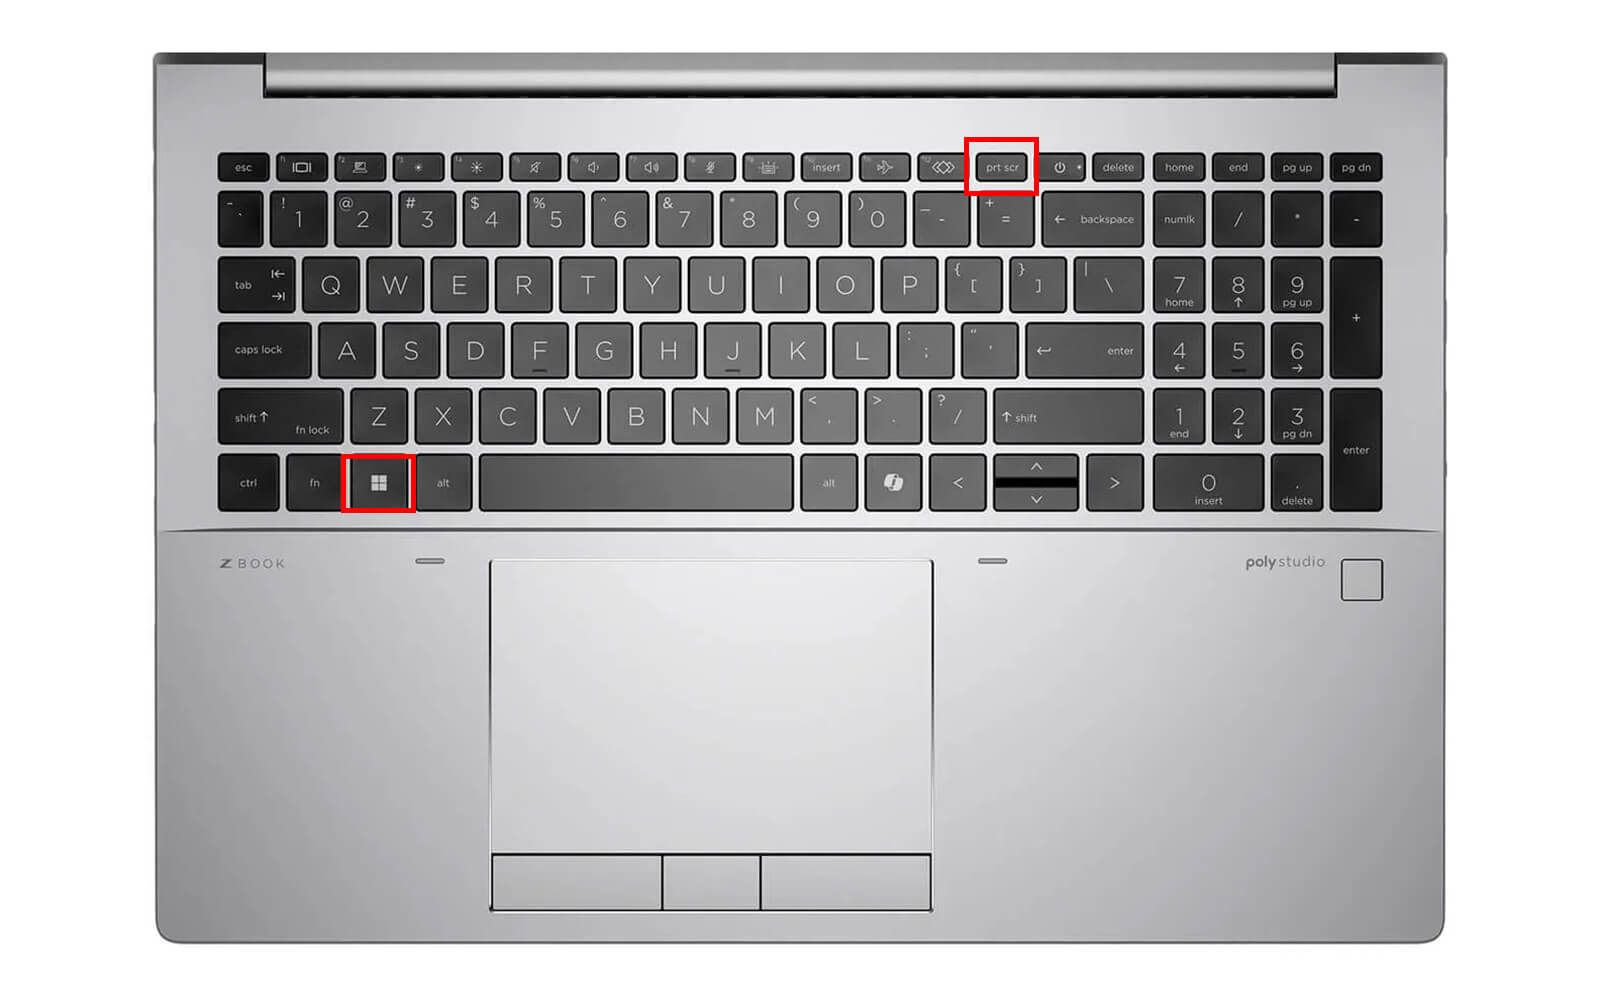
If you want to capture the entire screen and save the image automatically, use the Windows + Print Screen key combination.
- Step 1: Press the Windows + Print Screen keys simultaneously.
- Step 2: The image will be automatically saved in the Screenshots folder within your Pictures folder.
3. "Shift + Windows + S" Key Combination to Screenshot HP Computers on Win 10 and Win 11 in 3s
This is a more flexible way to take screenshots, allowing you to select the specific area you want to capture and send it quickly on HP Win 10 and HP Win 11.
- Step 1: Press the Shift + Windows + S combination to open the screen clipping and capture tool.
- Step 2: Select the area to capture by clicking and dragging your mouse.
- Step 3: Paste the image into an image editing app using Ctrl + V.
4. Alt + Print Screen Key Combination
If you only want to capture the active window, use the Alt + Print Screen key combination.
- Step 1: Press the Alt + Print Screen keys simultaneously.
- Step 2: Paste the image into an image editing app using Ctrl + V.
5. Using Snipping Tool
Snipping Tool is a built-in Windows application that allows you to take screenshots in various modes.
- Step 1: Open the Snipping Tool app. You can find it in the Start menu or by searching in the Search bar.
- Step 2: Select the appropriate capture mode:
- Full-screen Snip: Captures the entire screen.
- Window Snip: Captures the active window.
- Rectangular Snip: Captures a rectangular area.
- Free-form Snip: Captures a free-form area.
- Step 3: Capture the screen in the selected mode.
- Step 4: Save the image by selecting File > Save As.
6. Using Snip & Sketch
Snip & Sketch is the upgraded version of Snipping Tool, providing many additional useful features.
- Step 1: Open the Snip & Sketch app. You can find it in the Start menu or by searching.
- Step 2: Click New to start capturing the screen.
- Step 3: Select the area to capture.
- Step 4: Save the image by selecting File > Save As.
7. Windows + H Key Combination
If you want to take a screenshot and share it directly, use the Windows + H key combination.
- Step 1: Press the Windows + H combination to capture the screen and open the sharing menu.
- Step 2: Select the application to share the screenshot.
Taking screenshots on HP computers is not only simple but also offers many flexible ways to perform it. From using the basic Print Screen key to using key combinations and built-in apps like Snipping Tool and Snip & Sketch, you can choose the method that best suits your needs. With these detailed instructions, we hope you can easily take screenshots and make the most of the features of HP computers to increase your work productivity and entertainment.