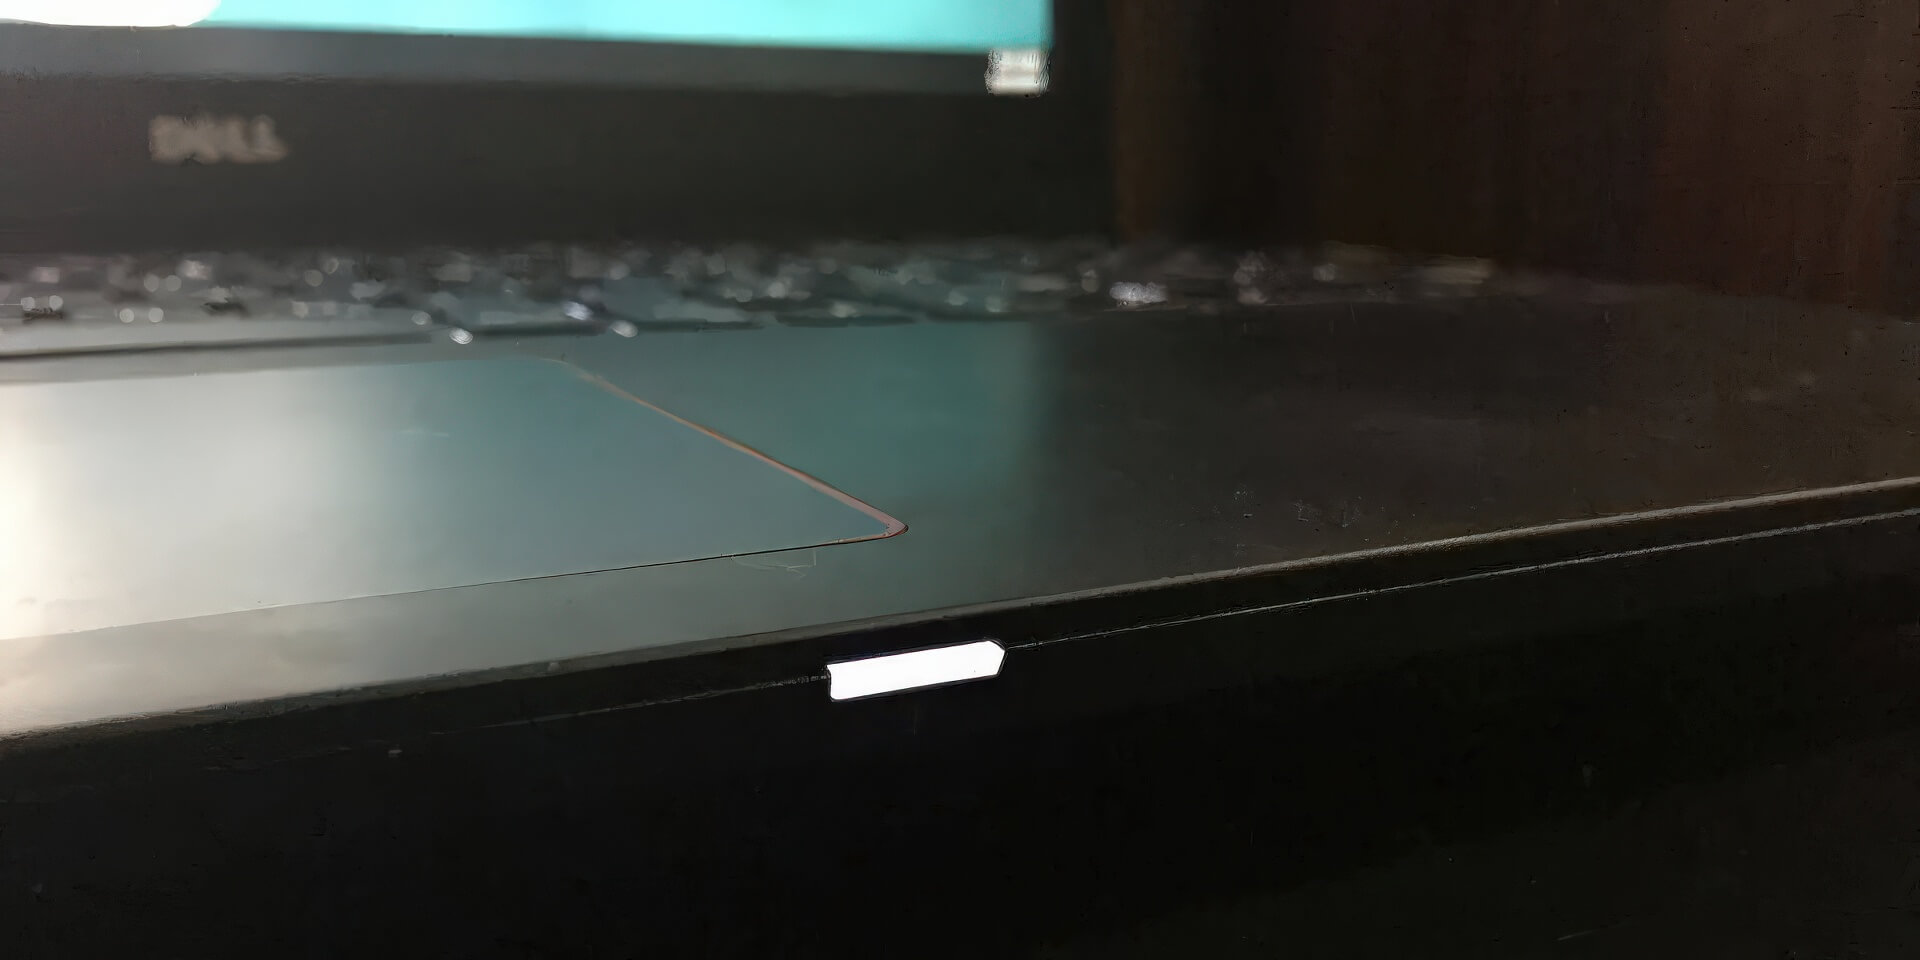
On most Dell laptops, a small LED indicator located on the chassis serves as a highly useful hardware error tool that many users often overlook. Specifically, when your laptop fails to power on or display an image, you can identify the core cause of the issue simply by observing the blinking light sequence. This makes troubleshooting and finding a repair solution much faster and more accurate. Typically, Dell laptop lights flash in alternating amber and white patterns to indicate specific hardware error codes. This article provides a detailed guide on how to read these amber and white blinking LED codes so you can easily diagnose your machine's condition.
How Dell Laptops Use LED Error Codes: The Mechanism
Before diving into specific error codes, it is important to understand the signaling mechanism used by Dell laptops. When an error signal is triggered, the amber light flashes first, followed by the white light. The first column in the error code (e.g., 2,1) is interpreted as follows: the first number before the comma represents the number of amber flashes, and the number after the comma represents the number of white flashes.
For example, an error code of (2,3) means “No RAM detected.” This means the LED will flash amber twice, followed by three white flashes.
Note the timing between flashes: there is a 1.5-second delay between the amber and white sequences. The entire error sequence will repeat after a 3-second pause. These diagnostic LEDs are typically placed in easily visible locations on the chassis, such as on Dell Inspiron, Dell XPS, and Dell Latitude models.
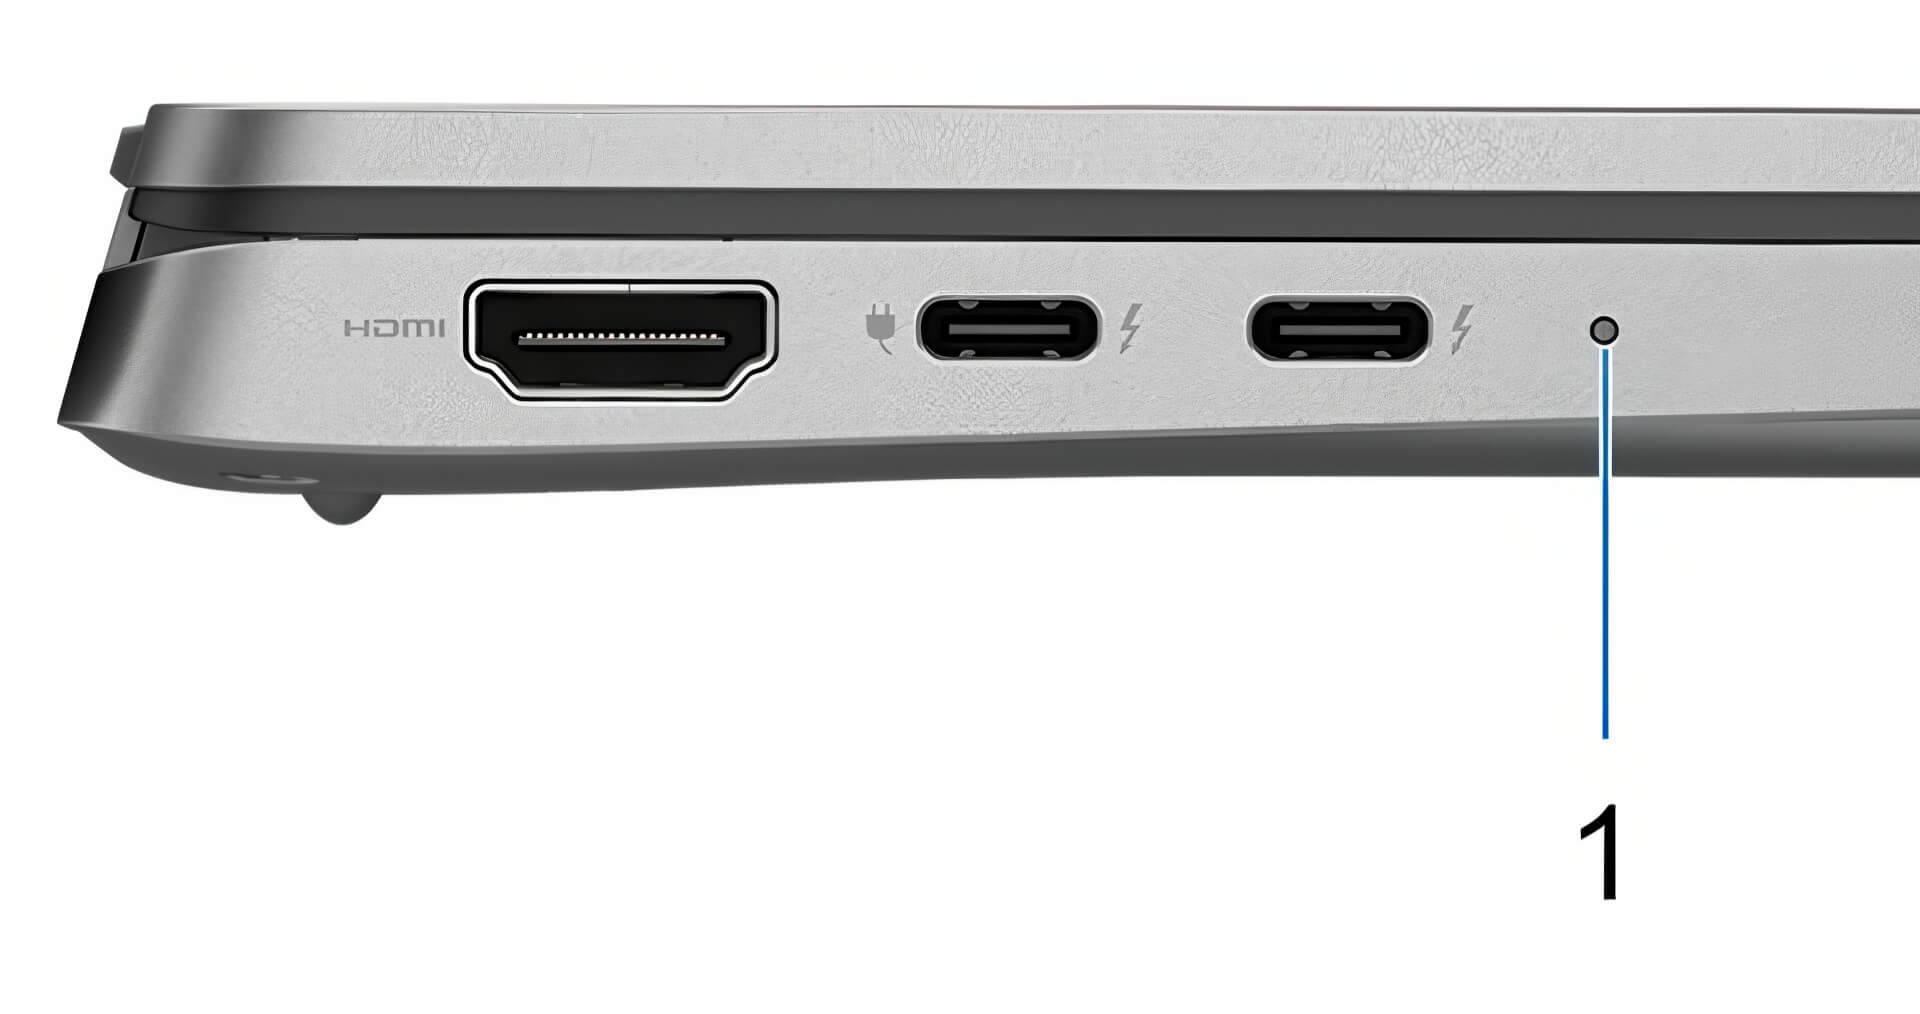
Dell Laptop Amber and White Blinking Error Code Chart
Below is a detailed error code chart to help you cross-reference the blinking patterns and identify the occurring hardware fault. Identifying the correct error code will help you understand the issue-ranging from simple problems you can fix at home to complex issues that require professional service at a repair center.
| Blinking Sequence | Component | Error Description |
|---|---|---|
| 2,1 | CPU | Possible CPU Failure |
| 2,2 | System board: BIOS | Motherboard error (including BIOS or ROM failure). |
| 2,3 | RAM | No RAM detected |
| 2,4 | RAM | RAM failure |
| 2,5 | RAM | Invalid RAM |
| 2,6 | System board: Chipset | Chipset failure |
| 2,7 | LCD | LCD screen or display cable failure |
| 3,1 | RTC Power | CMOS Battery failure |
| 3,2 | PCI/Video | PCI or Graphics Chip failure |
| 3,3 | BIOS Recovery 1 | Recovery image not found |
| 3,4 | BIOS Recovery 2 | Recovery image found but invalid |
| 3,5 | Power Rail | EC ran into power sequencing failure |
| 3,6 | SBIOS Flash Corruption | Flash Corruption detected by SBIOS |
| 3,7 | ME Error | Timeout waiting on ME to reply to HECI message |
Quick Reference Guide: Amber/White Codes and Troubleshooting
When searching for help, users often describe the pattern they see, such as "2 amber 4 white" or "2 yellow 1 white" (as amber can sometimes appear yellowish). To save you time, the table below groups the most common amber and white blinking codes along with initial troubleshooting steps you can try at home before deciding to visit a service center.
| Blinking Code (Amber, White) | Error | Troubleshooting |
|---|---|---|
| 1,6 (1 amber, 6 white) | EC (Embedded Controller) Error | Disconnect the charger and all power sources, then hold the power button for about 15 seconds to drain residual electricity. Reconnect and try again. If the pattern persists, contact a service center. |
| 2,1 (2 amber, 1 white) | CPU Error | Run a CPU diagnostic via Dell SupportAssist or press F12 during startup to enter Diagnostics. If a CPU error is reported, the motherboard requires professional inspection. |
| 2,2 (2 amber, 2 white) | Motherboard, BIOS/ROM Error | Update (flash) the BIOS to the latest version from the Dell support website. If the issue persists, contact a service center. |
| 2,3 (2 amber, 3 white) | No RAM Detected | Reseat the RAM modules to ensure they are properly seated and clean the contact pins. If you have multiple sticks, try testing them one at a time to isolate the issue. |
| 2,4 (2 amber, 4 white) | RAM Failure | Remove the RAM, clean the gold contacts, and reinsert it; try a different slot. If the 2,4 pattern continues, the RAM module is likely faulty and needs replacement. |
| 2,5 (2 amber, 5 white) | Incompatible RAM | Remove the recently upgraded RAM and replace it with a type officially supported by Dell (ensure correct standard, bus speed, and capacity for your specific model). |
| 2,6 (2 amber, 6 white) | Motherboard Chipset Error | Try updating the BIOS first; if the error remains, it is a hardware failure on the motherboard requiring professional repair. |
| 2,7 (2 amber, 7 white) | LCD/Display Error | Update the BIOS and check the display cable. Panel or cable failures typically require replacement at a technical center. |
| 3,1 (3 amber, 1 white) | CMOS/RTC Battery Error | Replace the CMOS battery on the motherboard, then reset the date, time, and BIOS settings. |
| 3,2 (3 amber, 2 white) | Graphics Card/Chip (PCI) Error | This is a hardware graphics error that is difficult to fix manually; it is recommended to take the machine to a service center for inspection. |
| 3,3 and 3,4 | BIOS Recovery Error | Recovery image not found or invalid. Attempt to re-flash the BIOS following Dell's instructions; if unsuccessful, contact a service center. |
| 4,1 (4 amber, 1 white) | DIMM/RAM Slot Power Error | Reseat the RAM and try a different slot. If the error persists, either the RAM stick or the motherboard slot is faulty and requires technician intervention. |
Conclusion: The Importance of Understanding LED Error Codes
This article has provided a comprehensive guide to the amber and white blinking error codes on Dell laptops when the device fails to boot or display an image. Learning to identify these blinking patterns is a vital skill that empowers everyday users, removing the confusion and anxiety often associated with computer malfunctions.
By mastering these codes, you can easily determine whether your laptop is facing a hardware issue-such as a RAM failure, Chipset error, or CMOS Battery failure. This knowledge allows you to attempt simple home repairs or, at the very least, provides you with the confidence to avoid being overcharged for unnecessary repairs when seeking professional help. We hope this information serves as a useful resource to help you maintain and protect your laptop effectively.