Lines on a laptop screen can stem from the display panel, signal cable, graphics memory, or simply a faulty driver, so replacing the screen without testing first can easily waste money. Following support documentation from Dell, HP, Lenovo, and Microsoft, this guide walks you through running built-in screen diagnostics, testing an external display, and updating the BIOS yourself before reaching a conclusion. The built-in test is a pre-boot program that runs before Windows, drawing only solid colors and patterns directly onto the display panel
Vertical Lines, Horizontal Lines, and What Each Pattern Means
Before running any utility, you should accurately describe the type of screen lines you are seeing, as each pattern points to a different suspect area. HP laptop maintenance and service guides group vertical lines under issues related to the LVDS signal cable, signal degradation, and data loss, while horizontal lines are tied to video memory. This documentation separates image distortion when the laptop runs hot, identifying the cause as temperature.
According to Dell's Laptop Screen Not Working support page, horizontal or vertical lines can originate from the display panel, graphics card, or cable, or they may simply be caused by a corrupted graphics driver. Thus, the same symptom of screen lines can trace back to four groups of causes, ranging from software to hardware. Your task is to rule out each group step by step through documented tests, rather than guessing based on the color of the lines.
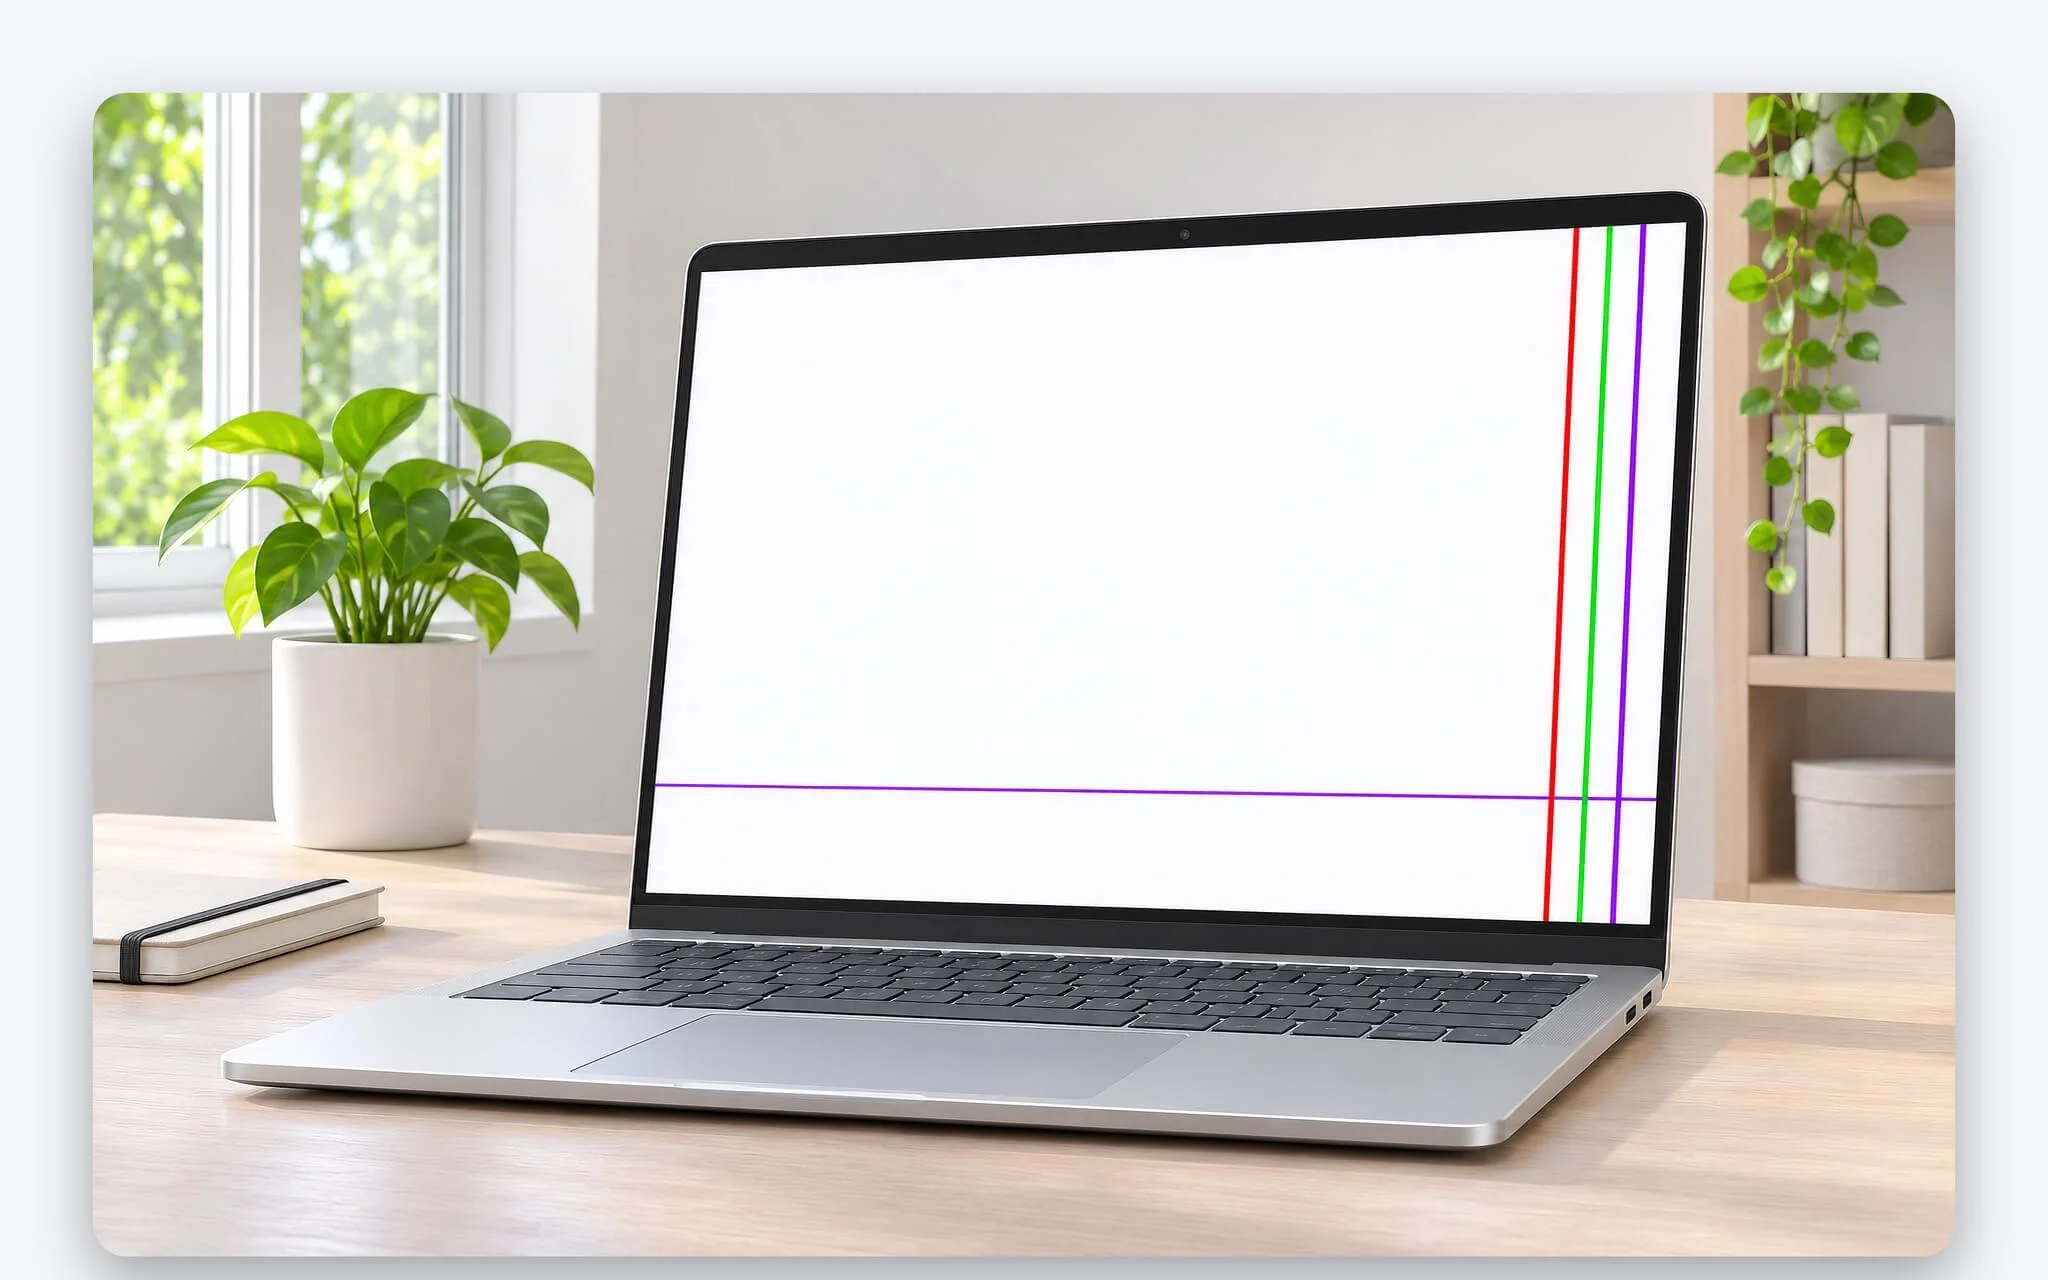
Step 1, note the orientation of the screen lines: vertical or horizontal, a single line or multiple lines. Step 2, open a full-screen white image and then a full-screen black image, noting the color of the lines against each background; HP recommends inspecting screen defects at native resolution on both light and dark backgrounds because some flaws are not clearly apparent under all conditions. Step 3, observe whether the screen lines remain static or change when you drag windows or let the laptop run long enough to heat up.
Step 4, check whether the lines appear right at the boot logo or only after booting into Windows. The manufacturer logo and BIOS screen appear before Windows loads the graphics driver, so if the screen shows lines at this point, the Windows driver branch is virtually eliminated. The expected outcome of these four steps is a concise description, detailed enough for a technician to immediately understand the screen line issue you are facing.
HP lists the components involved in image generation as the motherboard, graphics card, display cable, connectors, operating system, graphics driver, and LCD panel, noting that any single component or combination of them can cause display artifacts. Therefore, when encountering screen lines, you should not immediately conclude that the display panel is bad simply because the lines appear on the panel.
Running the LCD BIST Self-Test on Dell Laptops with the D Key
LCD BIST (Built-In Self-Test) is a built-in screen diagnostic on Dell laptops that runs before Windows boots. According to Dell's How to Test Your Dell Laptop Screen article, the basic version is available on all Dell laptops and does not require a BIOS update. The test covers the entire screen in solid colors one after another, making lines, abnormal spots, or dark patches stand out clearly.
Step 1, save your work, shut down the laptop completely, and wait for all indicator lights to turn off. Step 2, plug in the charger, and disconnect any external monitors, USB devices, docks, and headphones. Step 3, press and hold the D key, then press the power button, holding D until colors appear on the screen before releasing it. Expected result for the basic version: the screen displays black, white, red, green, and blue, each for a few seconds before repeating, and can be stopped by pressing the Esc key or holding the power button for 10 seconds.
| Result in LCD BIST | Meaning According to Dell | Next Step |
|---|---|---|
| Lines, dots, dark patches, or image distortion | The screen may require professional repair | Record details, take photos, contact Dell |
| Battery or power LED blinks a diagnostic code | Advanced version reports errors via light patterns | Count the amber and white blinks |
| No lines, no blinking lights | Screen hardware is functioning | Check drivers, display settings, Windows Update |
| Cracks, pressure marks, spiderweb patterns | Screen glass is damaged | Ask Dell for replacement options |
| No colors appear | Failed to enter the test | Shut down completely, plug charger securely, try again |
Step 4, newer laptops with an updated BIOS feature an enhanced version, which starts up in the exact same way, displaying white, black, red, green, and blue on the screen across two cycles. During this process, you also watch the battery or power LED, counting the number of amber and white blinks; Dell lists patterns of four amber blinks followed by three, four, five, or six white blinks. Laptops that do not support the enhanced version will simply run the basic version.
Step 5, read the results. If you see lines, dots, dark patches, image distortion, or LED diagnostic codes during the test, Dell notes that the screen may require professional repair; record the symptoms and light patterns, take photos if possible, and contact Dell Support. The company adds that defects usually appear across multiple colors. If the test runs cleanly, the screen hardware is considered functional, and screen lines appearing in Windows require checking the driver, display settings, and Windows updates next.
Step 6, if no colors appear, Dell recommends verifying whether the laptop was completely powered off, trying the key combination again, and checking that the charger is firmly plugged in. The Laptop Screen Not Working page also lays out a sequence for troubleshooting screen lines: update the graphics driver and BIOS, restart, and then check whether the lines persist in BIST. If the screen lines remain present in BIST, support will provide repair options based on your warranty status.
Using HP PC Hardware Diagnostics UEFI to Check Video and the Color Palette
On HP laptops, the equivalent tool is HP PC Hardware Diagnostics UEFI. According to HP's maintenance documentation, the display panel should only be replaced by an authorized technician, but HP recommends observing symptoms and running this tool before any screen replacement. The goal is to quickly verify whether the lines on the screen are caused by a hardware fault.
Step 1: Turn on or restart the laptop and immediately press the esc key. Step 2: Press f2; the BIOS searches for diagnostic tools in the order of connected USB drives, the hard drive, and then the BIOS itself, so a USB drive is not required. Step 3: Select Component Tests, then select Video. The expected result is a list of video tests, allowing you to choose the test that matches the type of screen lines you observed.
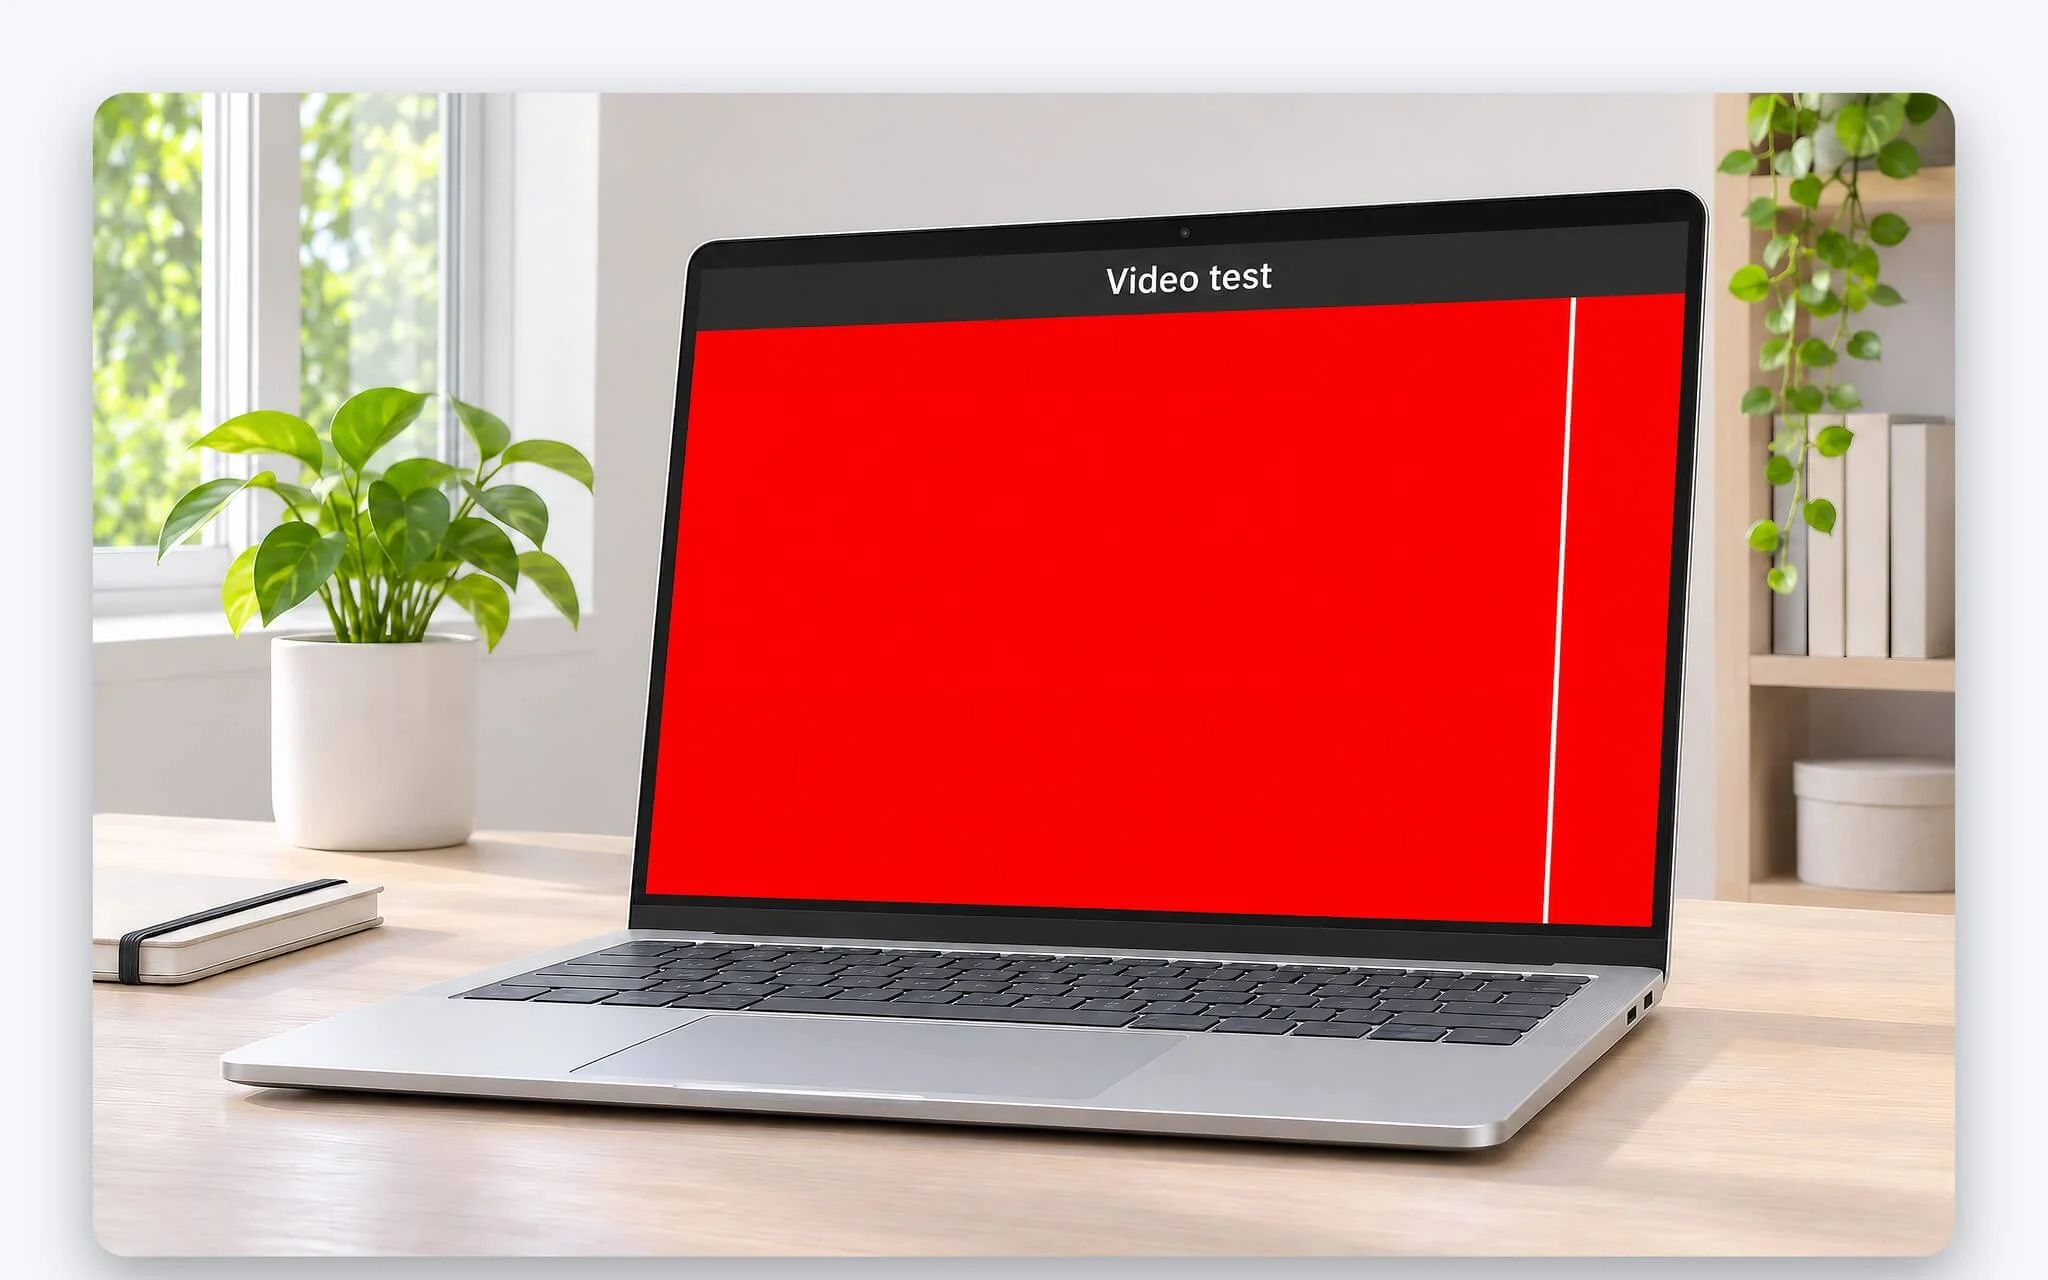
The Video section offers three options. Video Memory Check tests video memory, which should be prioritized when you see horizontal lines, as HP associates horizontal lines with video memory issues. Palette Check tests the three color components of red, green, and blue, allowing you to look for lines on each colored background. Dead Pixel Check scans for dead pixels across eight colors, but it is only available when running from an HP PC Diagnostics 3-in-1 USB Key.
Step 4: If a defect requiring a hardware replacement is detected, the tool generates a 24-digit failure ID. Select Contact HP, accept the privacy terms, and use your phone to scan the code on the next screen; the HP Customer Support Service Center page will open with the failure ID and product ID pre-filled. Alternatively, you can call support and read off the code, which helps accurately describe the screen line issue.
If all video tests pass but Windows still shows lines on the screen, turn your focus to software. HP's quick checklist includes inspecting the glass surface for cracks, liquid crystal leakage, or smudges; resetting and updating the BIOS and dock firmware; updating the operating system alongside Intel, AMD, and NVIDIA graphics drivers; testing with a known-good external monitor; and booting Windows into Safe Mode.
Display Tests in Lenovo Diagnostics and How to Respond to Results
The 2026 ThinkPad user guide recommends using UEFI Diagnostics when you cannot log into the operating system or when the laptop lacks a network connection; inside Windows, the Vantage app provides a Hardware scan. For lines on the screen, the UEFI version is more useful because it renders colors and patterns directly onto the display panel without going through Windows graphics drivers.
Step 1: Plug in the laptop's charger. Step 2: Turn on the laptop and immediately press F10 for Think models or F11 for Idea models, according to the Lenovo Diagnostics UEFI Embedded version 04.08.000 guide. Step 3: If running from a USB drive created with BootableGenerator, plug in the USB drive, restart, press F12, select the USB drive, and press Enter. On the first run, the tool displays a Privacy Policy page with a QR code, which you must accept to reach the main screen.
| Display Test (Lenovo) | What It Tests | Confirmation |
|---|---|---|
| Red, Green, Blue Solid Color Test | Displays solid red, green, and blue | Enter or Esc |
| Black Solid Color Test | Dead pixels on a black background | Enter or Esc |
| White Solid Color Test | Displays solid white | Enter or Esc |
| Luminance VESA Test | Edge sharpness of black rectangles on a white background | Enter or Esc |
| Geometry, Focus VESA Test | Proper rendering of lines, rectangles, and circles | Enter or Esc |
| Combination Test | Alignment and resolution | Enter or Esc |
| Access Test | Display data integrity | Automatic |
Step 4: Select Display using the arrow keys and press Enter. According to the Lenovo UEFI Diagnostics version 04.50.001 documentation released in August 2026, the Quick Diagnostics group for this module includes solid color tests for red, blue, green, black, and white, three VESA tests for luminance, geometry, and focus, along with the Combination Test and Access Test. If multiple tests are available, the tool displays an Algorithm Selection screen for you to make your choices and click Confirm.
Step 5: Except for the Access Test, every Display test requires your input. An explanation window appears before each test; press Enter to run it or Esc to skip. The screen displays the color or pattern; observe it, then press any key. A confirmation prompt asks if the image displayed correctly: press Enter for yes, or Esc for no. Lenovo stresses that an incorrect answer causes the tool to report the wrong status, so if you see lines on any colored background, you must choose Esc.
Step 6: When a module reports a failure, the tool asks whether to run hierarchical diagnostics. If you select Yes, the application prioritizes testing foundational modules to locate the root cause of the error. Press V to view the log. According to the 2026 ThinkPad guide, press Esc to exit and the laptop will restart immediately; if the lines on the screen stem from hardware issues that you cannot resolve yourself, contact a Lenovo support center.
Connect an External Display and Boot into Safe Mode to Isolate the Issue
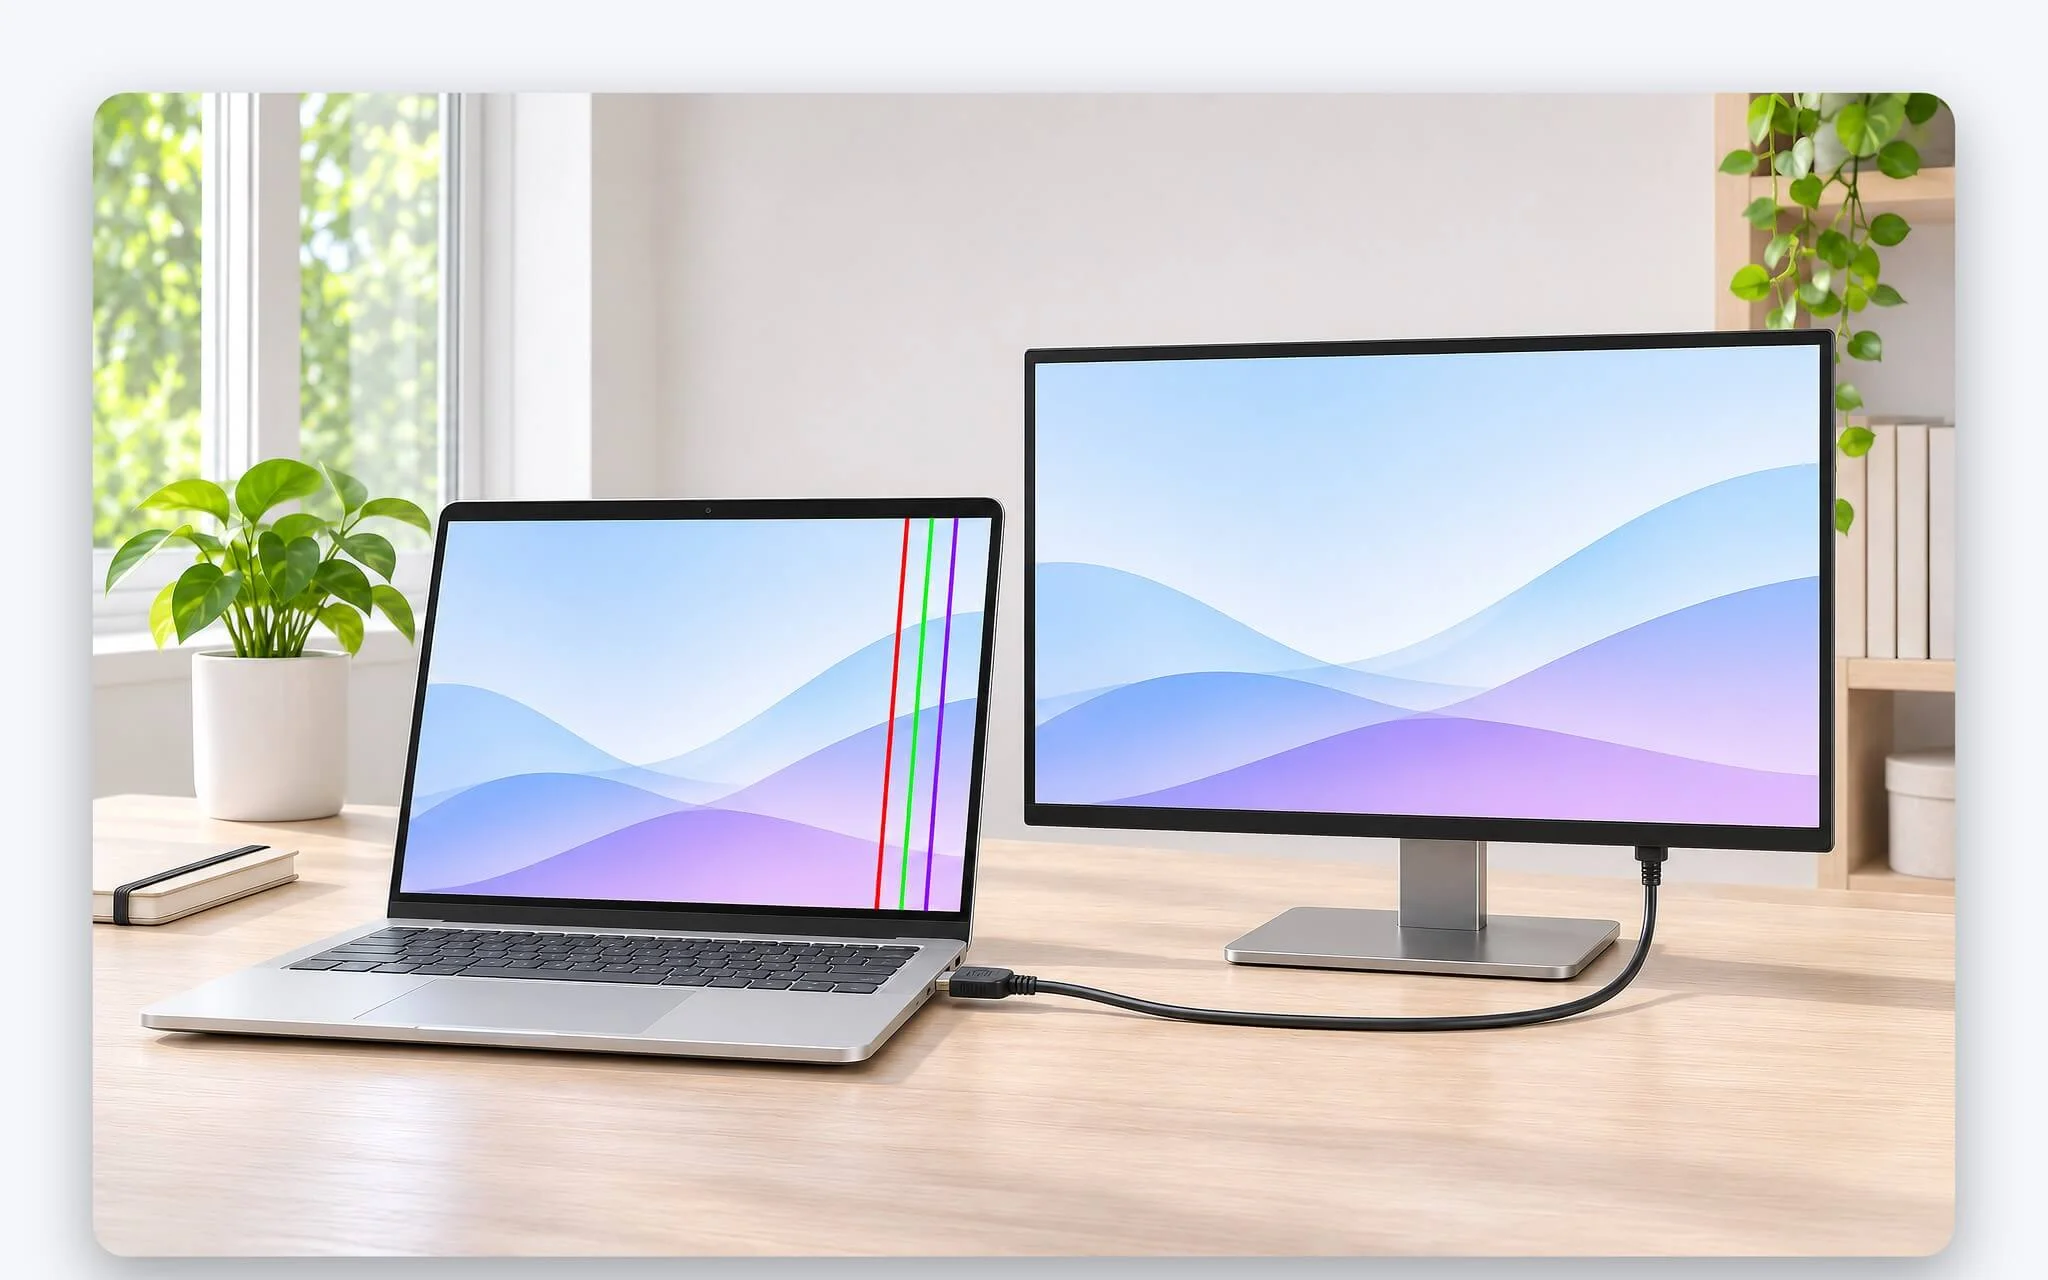
When lines appear across your screen, an external display effectively serves as a split-path test: the graphics card renders frames as usual, but the video signal routes out through a display port rather than traveling through the internal cable to the laptop display panel. Step 1: Connect the laptop to a known working monitor using an HDMI, DisplayPort, or compatible cable. Step 2: Press Windows + P and select Duplicate or Extend, as Dell instructs.
According to Dell, the expected outcomes are straightforward: if the external display renders cleanly, the laptop screen likely has a hardware fault; if the external display also shows defects, troubleshooting continues on the external display setup. Looked at this way, if lines appear only on the laptop panel, suspicion focuses on the panel and the internal cable; if the exact same lines repeat on the external display, the graphics card, video memory, or driver is the more probable culprit.
If the external display fails to produce an image, HP maintenance documentation recommends verifying that the monitor is compatible and powered on, pressing any key to exit sleep mode, testing an alternate display or port, installing a fresh video driver, and then forcing output to the external display by closing the lid or pressing fn + f4 on the HP models referenced in the guide.
Step 3: Try Safe Mode. HP includes Safe Mode on its quick troubleshooting checklist, while Dell notes that if the display functions properly in Safe Mode, a software program was causing the rendering problem. Safe Mode loads Windows with a bare-minimum set of drivers, so if the lines vanish here, the issue tilts toward software. If the screen lines persist in both Safe Mode and UEFI diagnostics, a hardware defect is virtually confirmed.
Step 4: For laptops equipped with dual GPUs, HP points out that systems running a customized Windows installation should be set up in UEFI mode with Legacy disabled to ensure complete support for hybrid graphics, preventing blue-screen errors and visual artifacts. If a laptop previously had Windows reinstalled under Legacy mode and lines show up strictly within Windows, this BIOS configuration is worth checking before assuming a hardware failure.
Update the BIOS and Graphics Drivers, and Prepare Information for the Manufacturer
Both Dell and HP place updating the BIOS and graphics driver ahead of any final conclusion regarding screen lines. Dell notes that an outdated graphics driver or improper BIOS configuration can trigger display faults. On a Dell laptop, open SupportAssist from the Start menu, select Update software on the Home tab, click Start to check for driver and BIOS updates, follow the prompts, and restart if required.
For Lenovo, 2026 ThinkPad guides direct users to pcsupport.lenovo.com: enter the product name, click Troubleshoot & Diagnose, and select Easy to update firmware and inspect hardware health; the portal will request that you install Lenovo Service Bridge. For HP, the HP PC Hardware Diagnostics UEFI utility features a Firmware Management section to flash the BIOS whenever screen lines are suspected to stem from outdated firmware.
| Common Testing Issues | Cause | Solution |
|---|---|---|
| Pressing D and the power button does not display colors on a Dell | The laptop is not fully turned off, or the charger is loose | Wait until all lights shut off, seat the charger firmly, and try again |
| HP fails to enter the UEFI utility | esc was not pressed in time | Restart, press esc promptly, then press f2 |
| Lenovo Diagnostics USB will not boot | Secure Boot is enabled | Disable Secure Boot, press F12, and select the USB drive |
| Lenovo reports a pass despite visible screen lines | Enter was pressed at the confirmation prompt | Rerun the test; if lines are visible, select Esc |
| HP Dead Pixel Check is unavailable | This test requires a 3-in-1 USB key | Use Palette Check |
| Windows + Ctrl + Shift + B produces no beep and no flash | The key combination was not registered | Restart, then update or roll back the driver |
When lines show up only inside Windows, the next step is to restart the graphics driver. Microsoft advises pressing Windows + Ctrl + Shift + B; if successful, you will hear a beep or watch the display flash once. If the lines first appeared following an update, launch Device Manager, expand Display adapters, right-click your GPU, and select Roll back driver; otherwise, choose Update driver, performing these steps from Safe Mode if the panel fails to display normally.
The final step is gathering relevant details before bringing your laptop in for warranty service: a description of the lines including their orientation, color, position, and whether they change as the laptop heats up; results from built-in diagnostic tests; any error codes (such as Dell blinking-light patterns, HP 24-digit failure IDs, or Lenovo log files); and your current BIOS and graphics driver versions. If you want to include screenshots of Device Manager or your BIOS configuration, handy capture shortcuts are detailed in the guide How to Take a Screenshot on an HP Computer: Simple and Fast.
When screen lines trace back to a physical hardware failure, panel replacement is best handled by the manufacturer or an authorized service center. HP specifies that display panels should be replaced exclusively by authorized technicians, Dell arranges repairs according to warranty coverage, and Lenovo advises contacting a support center for hardware faults that cannot be resolved on your own. The diagnostic findings and error codes you record provide service technicians with the precise evidence needed to determine which replacement components your screen requires.
Frequently Asked Questions (FAQ)
Do lines on a screen go away on their own?
It depends on the cause. Lines caused by driver issues may clear up after a restart, an update, or a driver rollback; if lines appear even in Dell's LCD BIST or Lenovo's Display test, you should contact the manufacturer for hardware repair.
What is the difference between horizontal and vertical lines?
HP maintenance documentation links vertical lines to LVDS signal cables, signal degradation, and data loss, while associating horizontal lines with video memory. Dell notes that both patterns can stem from the display panel, graphics card, cable, or driver.
How do you test for screen lines on laptops from other brands?
You can still use standard diagnostic checks: connect an external monitor, boot into Safe Mode, update the BIOS and graphics driver, and press Windows + Ctrl + Shift + B to restart the driver.
Can an LCD test fix a screen with lines?
No. Dell notes that the test is solely for diagnostics and does not repair anything; it indicates whether the line issue stems from the display hardware itself, rather than checking Windows or drivers.
What does it mean if an external monitor displays normally?
According to Dell, that usually points to a potential hardware issue with the laptop screen. You should also run the manufacturer's built-in diagnostic test to get definitive results and an error code.