

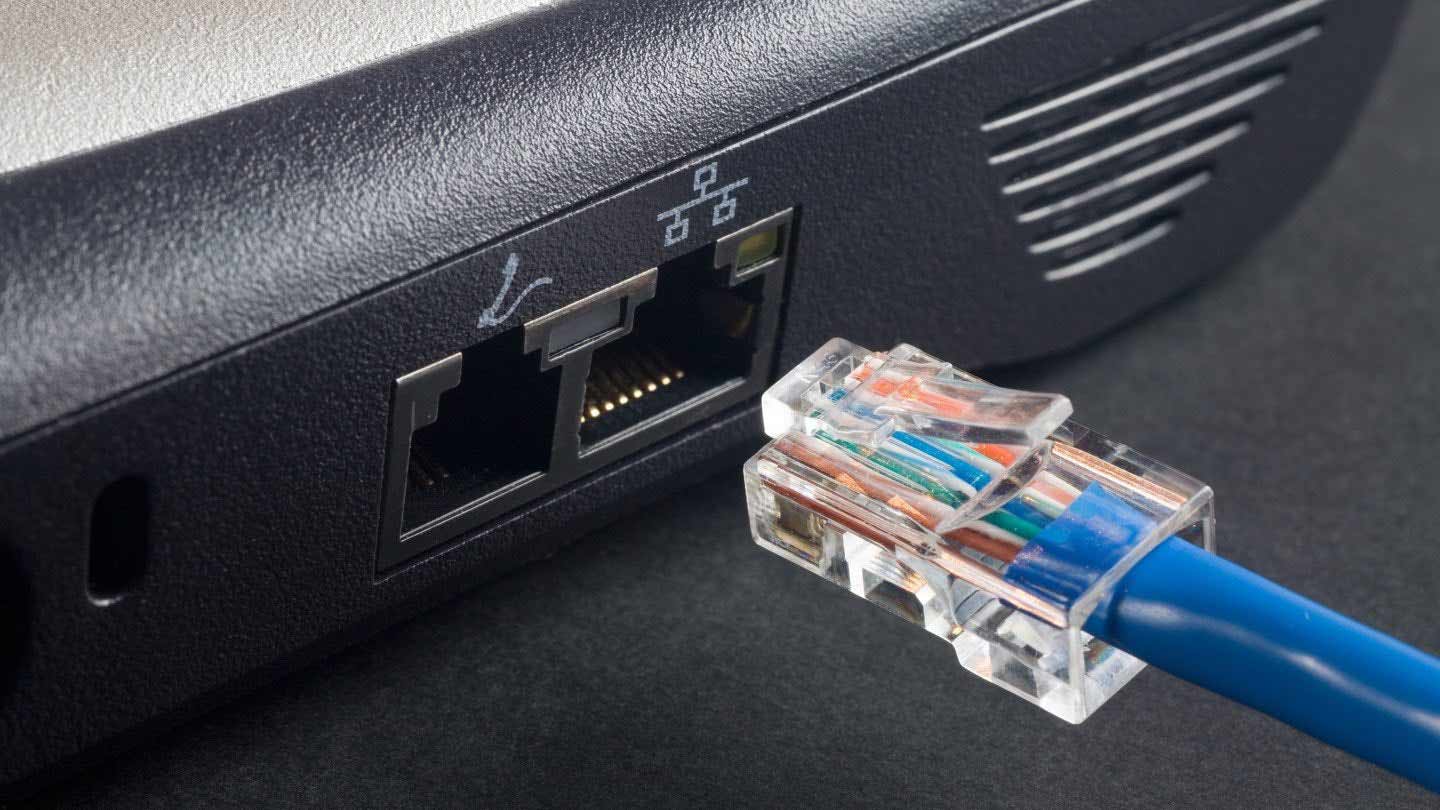
The main benefit of using an Ethernet connection over WiFi is improved and consistent network performance. However, this is not always the case. Your Ethernet connection can sometimes frustrate you by disconnecting for no apparent reason on your PC running Windows 10 or 11.
Before you give up on your Ethernet connection and switch to a wireless connection, try the following tips to troubleshoot the issue.
1. Disconnect and reconnect the Ethernet cable
A loose or damaged Ethernet cable is one of the most common causes of this issue. Therefore, you should first disconnect and reconnect the Ethernet cable. While doing so, make sure to check the cable for any cuts or damage. If the cable or connector appears damaged, try using a different cable or connector.
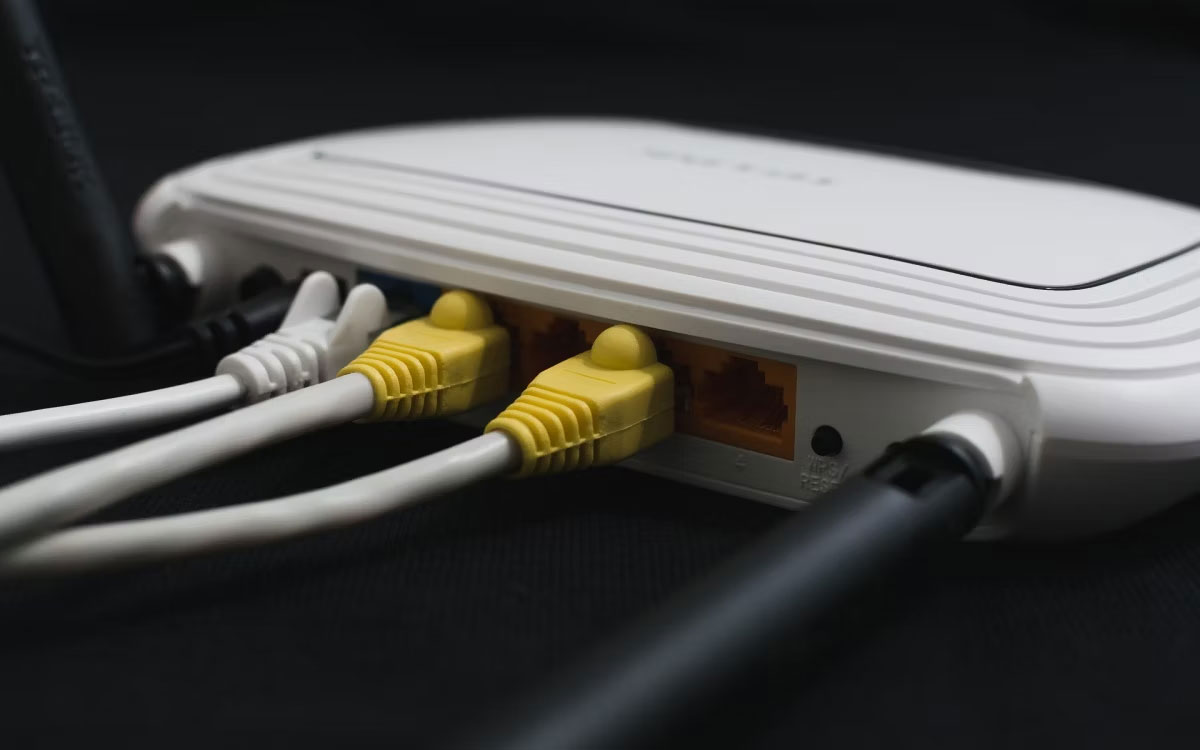
Another thing you should do is clean the Ethernet ports on both the computer and the router to ensure the cable fits snugly. If there are multiple ports, try connecting the cable to a different port and see if it resolves the issue.
2. Restart your router or modem
This is another basic fix that you should try to resolve any Internet issues. Restarting your router or modem will help clear any memory and other issues affecting its performance.
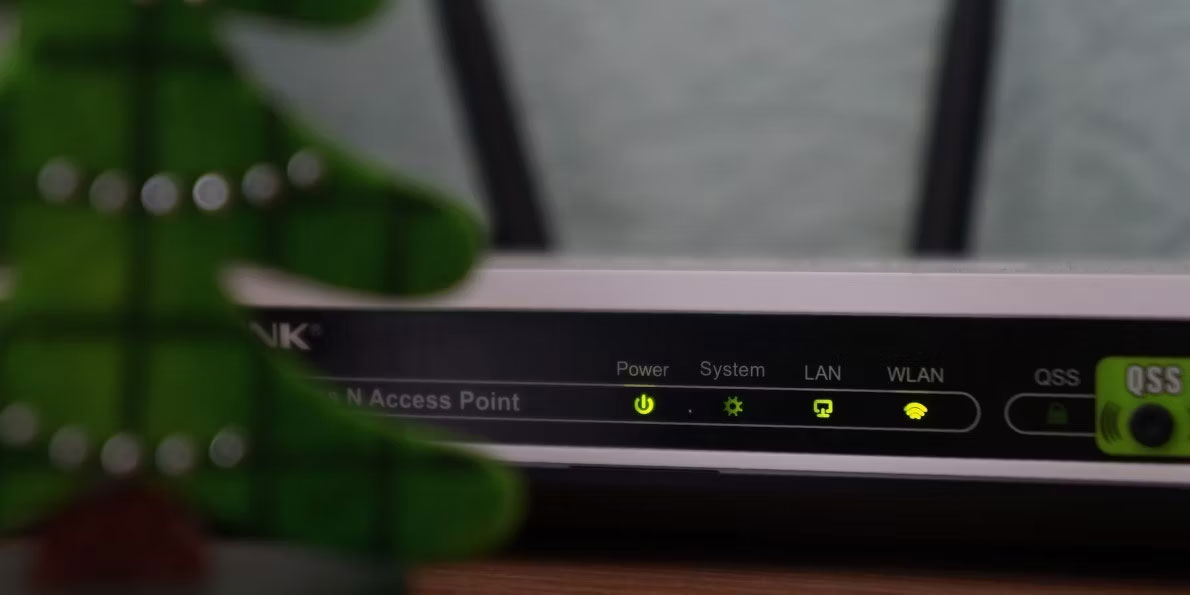
While doing that, you may also consider restarting your PC. Then, see if the Ethernet connection on your PC running Windows 10 or 11 still disconnects randomly.
3. Enable DHCP automatically
If you set incorrect IP information on Windows, your Ethernet connection may be unstable and frequently disconnect. To prevent this, you can enable the Automatic (DHCP) option in Windows. Here is how to do it:
- Press Win + I to open the Settings app.
- Go to Network & internet > Ethernet.
- Click the Edit button next to IP assignment.
- Use the drop-down menu to select Automatic (DHCP) and click the Save button.
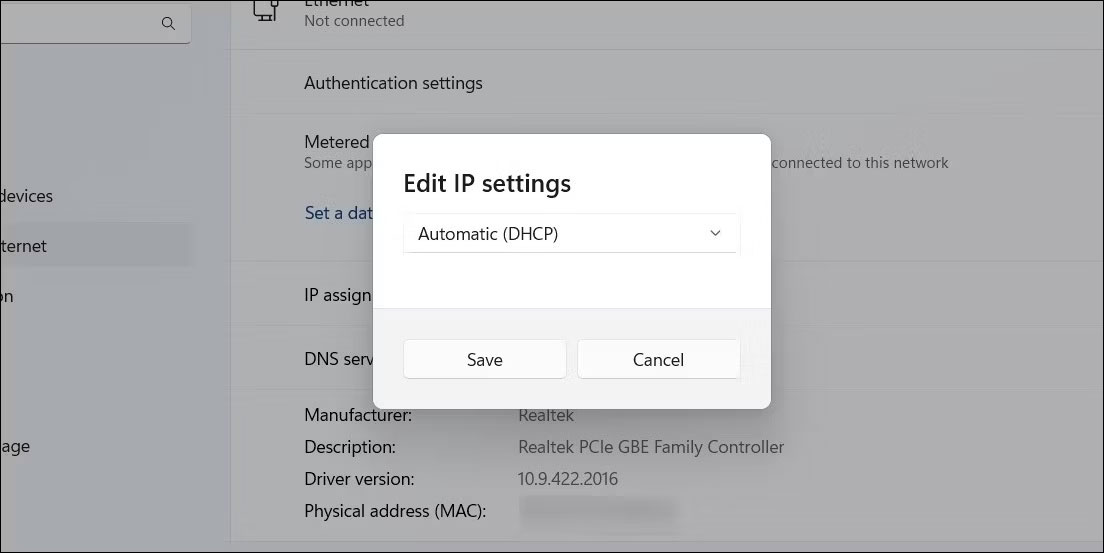
Once you have completed the above steps, Windows will allow it to automatically obtain an IP address and other network settings from your router.
4. Run the Network Adapter Troubleshooter
Running the Network Adapter Troubleshooter in Windows can help fix all types of network-related issues, including this one. It will scan your system for any common issues that might cause Ethernet to constantly disconnect.
To run the Network Adapter Troubleshooter:
- Press Win + I to open the Settings app.
- In the System tab, click Troubleshoot.
- Select Other troubleshooters.
- Click the Run button next to Network Adapter.
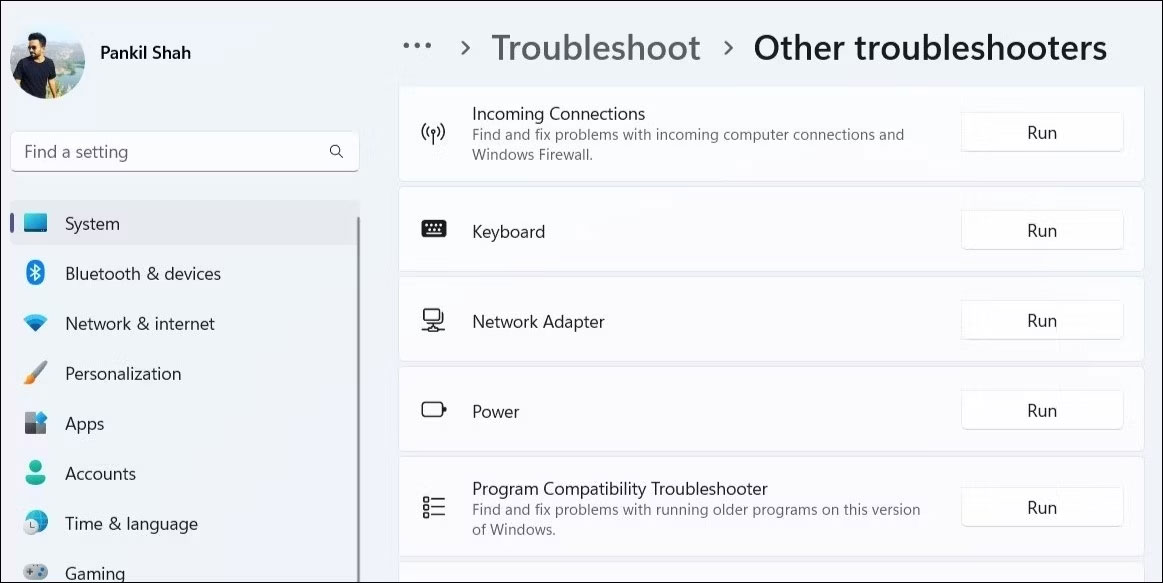
Follow the on-screen instructions to complete the troubleshooting process and check if the Ethernet still disconnects afterward.
5. Disable and re-enable the Ethernet adapter driver
Temporary issues with the Ethernet adapter can also cause your connection to constantly disconnect. In most cases, you can fix such issues by turning the Ethernet adapter off and back on. Here are the steps to follow:
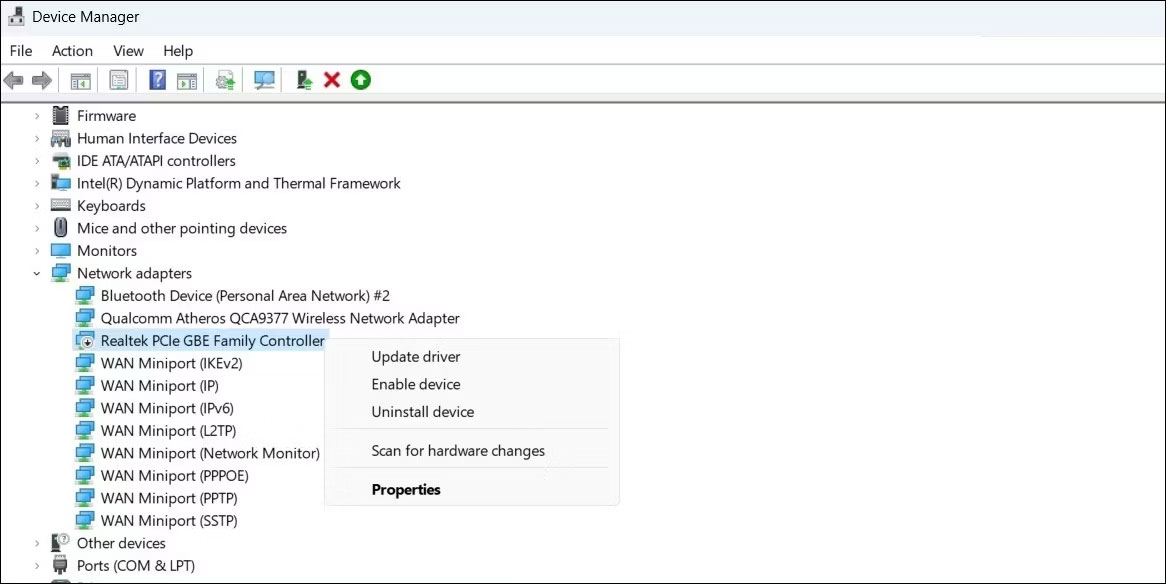
- Right-click the Start icon and select Device Manager from the list.
- Double-click Network adapters to expand it.
- Right-click the Ethernet driver and select Disable device from the resulting menu.
- Select Yes to confirm.
- Right-click the Ethernet driver again and select Enable device.
6. Prevent Windows from turning off the Ethernet driver
To save energy, your Windows computer will turn off USB devices and Network Adapters when not in use. This could be why Windows might be disconnecting your Ethernet.
To prevent this, you need to change the power management settings for your Ethernet driver. Here is how you can do this.
- Press Win + S to access the search menu.
- Type Device Manager into the text box and select the first result that appears.
- Expand Network adapters.
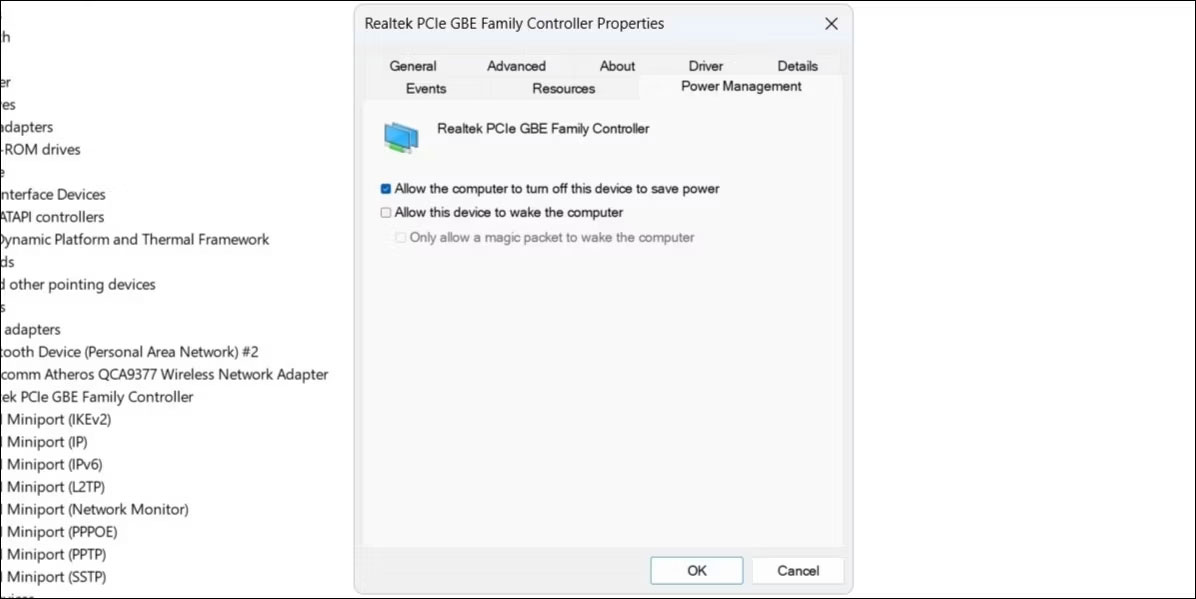
- Double-click your Ethernet driver to open its properties.
- Go to the Power Management tab.
- Uncheck the Allow the computer to turn off this device to save power box.
- Click OK.
7. Update the Ethernet driver
A malfunctioning Ethernet driver can also lead to such anomalies. This often happens when the Ethernet driver is outdated or incompatible. You can try updating the problematic Ethernet driver to see if that resolves the issue. To do this, follow these steps:
- Press Win + R to open the Run dialog box.
- Type devmgmt.msc into the box and press Enter.
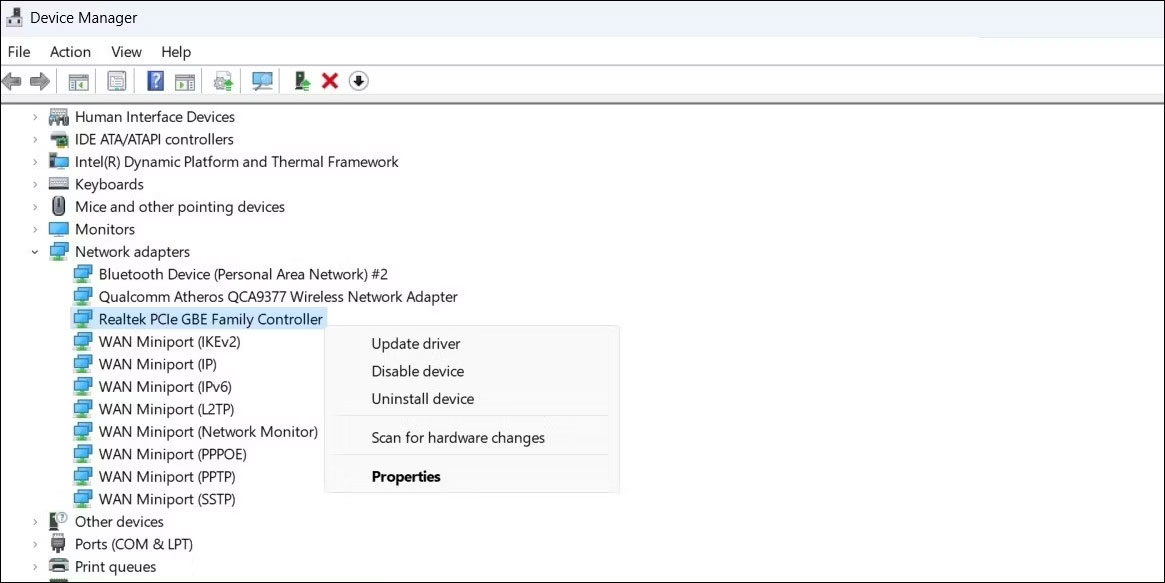
- In the Device Manager window, expand Network adapters.
- Right-click the problematic driver and select Update driver.
- Select the Search automatically for drivers option.
- Click Search for updated drivers on Windows Update.
After updating the Ethernet driver, check if the issue still occurs.
8. Disable VPN or proxy services
Are you using a proxy service or a VPN service to hide your online activities? If so, issues with the proxy server or VPN could be causing problems with your Ethernet connection. To test this possibility, you can temporarily disable the proxy server or VPN connection and see if that restores normal operation.
9. Disable antivirus software
Many third-party antivirus programs have firewalls and network protection features that can sometimes interfere with your network connection. This can cause your Ethernet connection to become unstable or stop working. You can temporarily disable your antivirus software to see if this resolves the issue.
Right-click the antivirus icon on the taskbar and select Disable > Disable until computer is restarted.
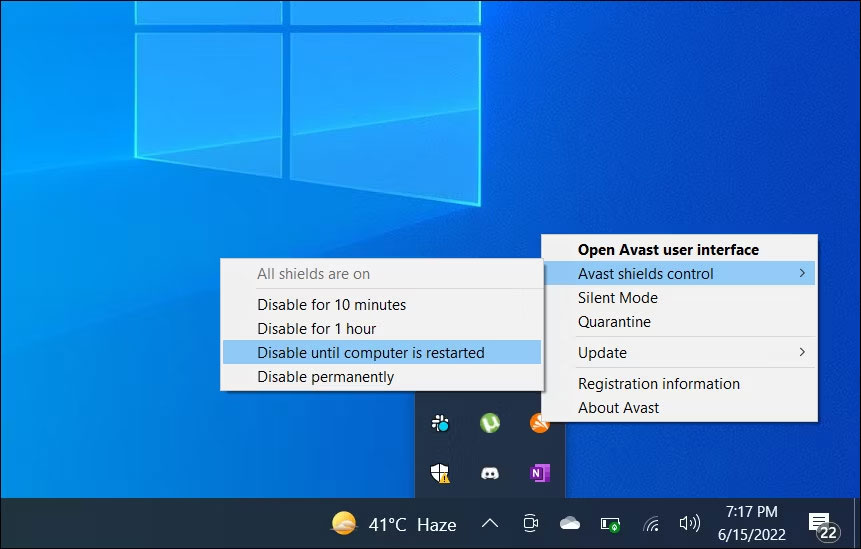
If this resolves the issue, you may need to reconfigure your antivirus software and fix any anomalies. Alternatively, you could switch to a more reliable antivirus program. If you need help choosing a program, see our guide on the best antivirus programs for Windows.
10. Reset network settings
If the above tips do not work, you can reset your PC's network settings as a last resort. This action will restore your PC's network settings to their default values, resolving any issues.
Please note that this process will delete all saved WiFi networks and your custom DNS settings. If you agree to this, refer to the guide on how to reset network settings in Windows and follow the steps outlined there.











