

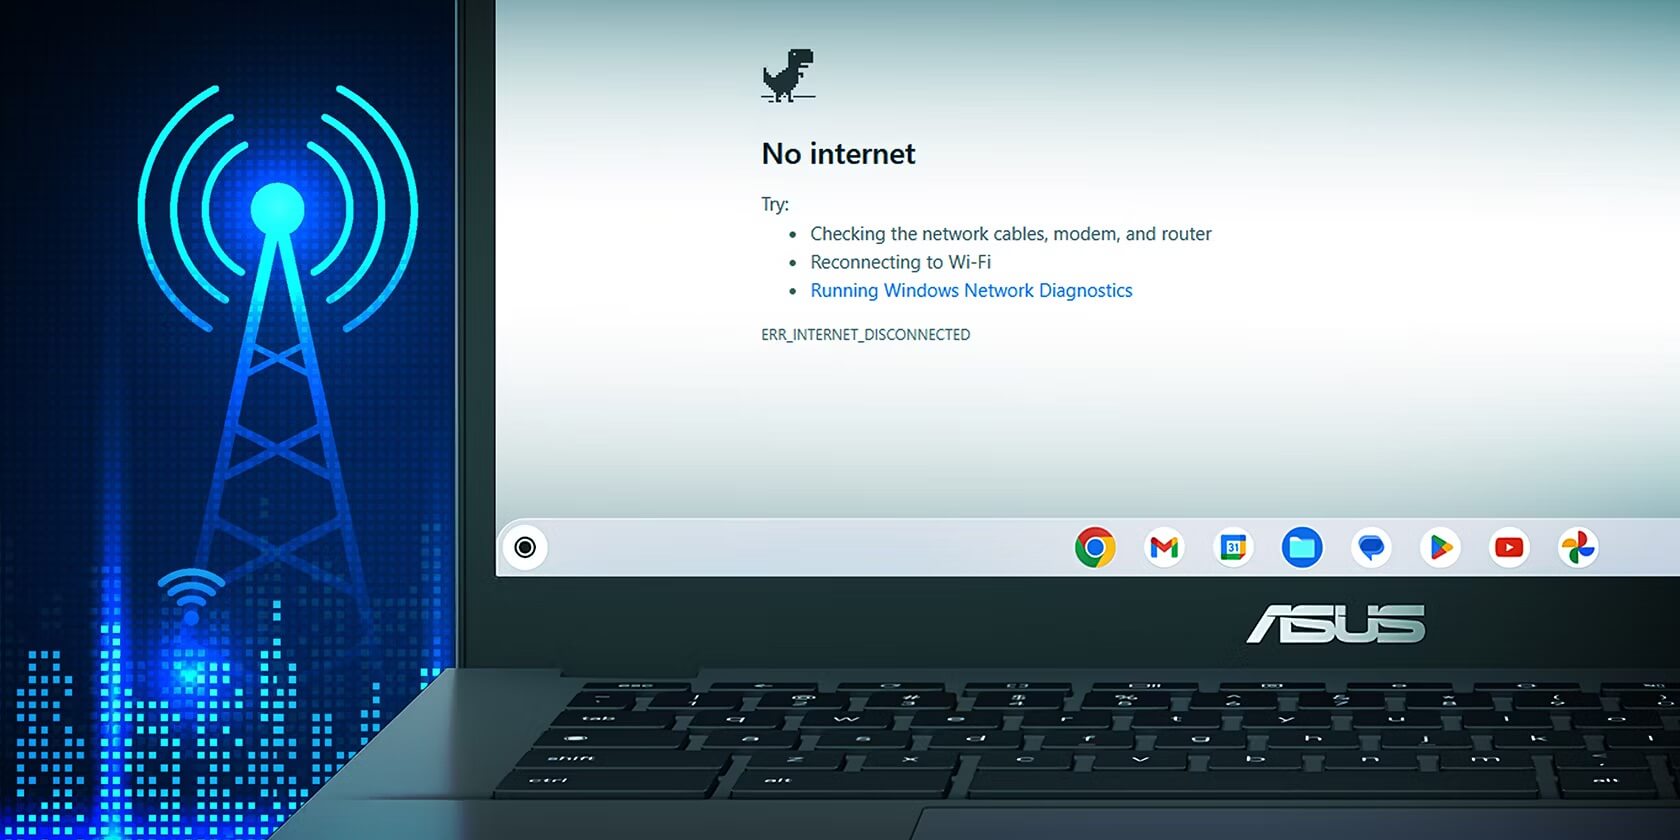
When Chromebook cannot use WiFi, it can truly become useless. However, you don't need to worry. With just one or two simple steps to fix the problem and restore the connection, you can continue working or entertaining yourself without interruption.
Check Wi-Fi status on Chromebook
To fix the issue when a Chromebook cannot connect to WiFi, you need to perform the following steps:
- Check the WiFi status on your Chromebook. If your device has a physical network switch, make sure it is turned on.
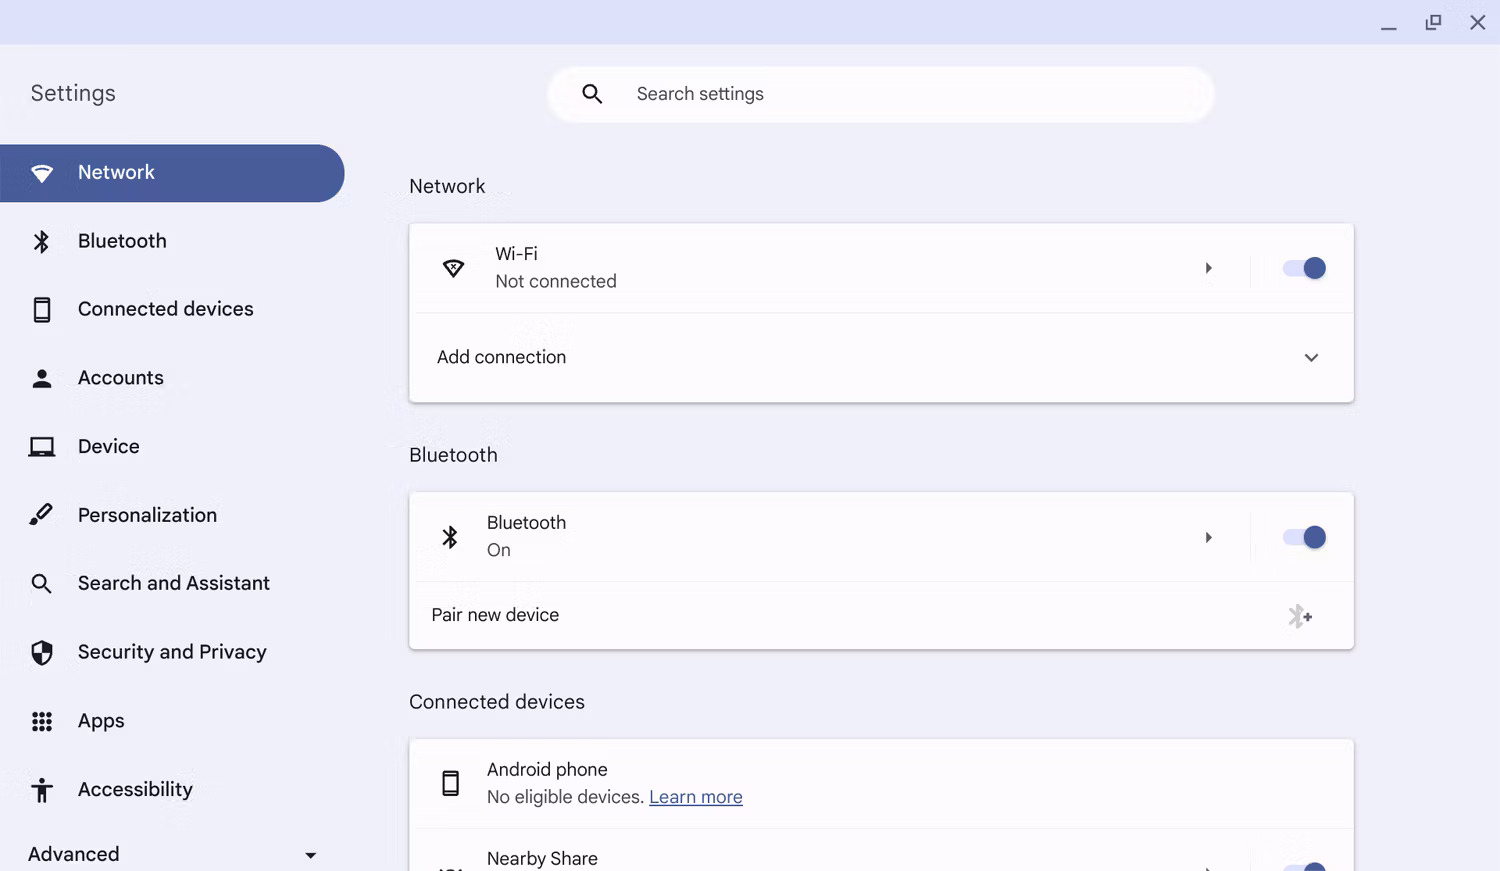
- Check the network status from the Settings tab. To do this, go to Settings, select the Network tab, and find the toggle switch next to the WiFi name. Make sure you have turned the WiFi switch on.
Check for available Chromebook updates
To check for updates on ChromeOS, you can follow these steps:
- Open ChromeOS and go to the Settings tab.
- In settings, open the About ChromeOS tab.
- Click the Check for updates button to check and install the latest updates.
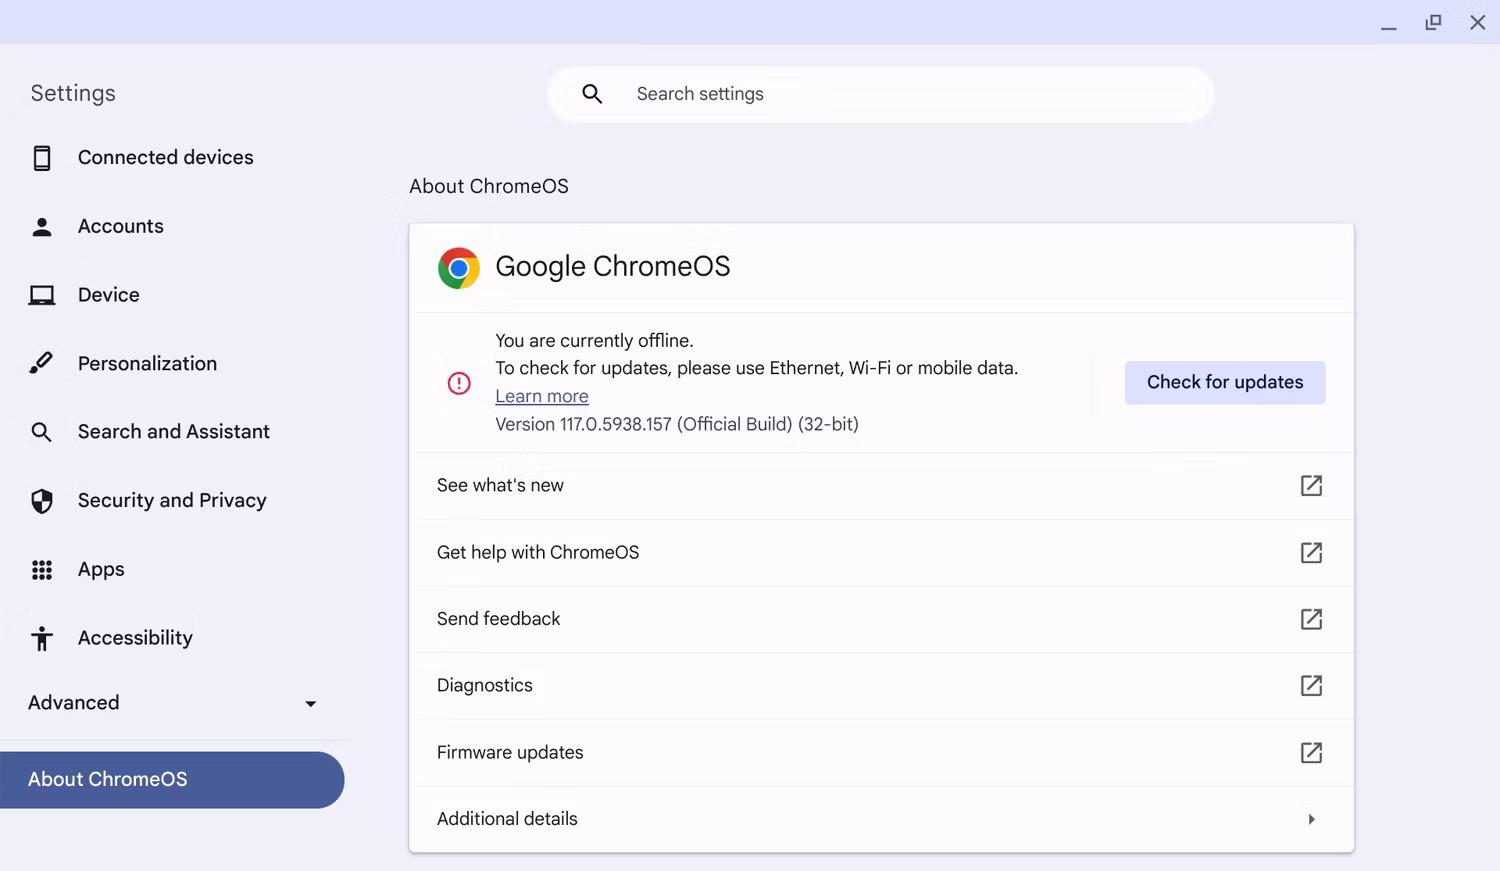
The ChromeOS operating system will automatically install updates when they are available. After the installation process, check if the Chromebook still encounters WiFi issues to ensure everything is working correctly.
Reset WiFi information
If you cannot connect to your WiFi name even though you see it in the list of available networks, you can try re-entering the router details and reconfiguring your WiFi settings. Such a factory reset can help resolve connection issues and allow the Chromebook to access the Internet.
To forget and reset router details, you can follow these steps:
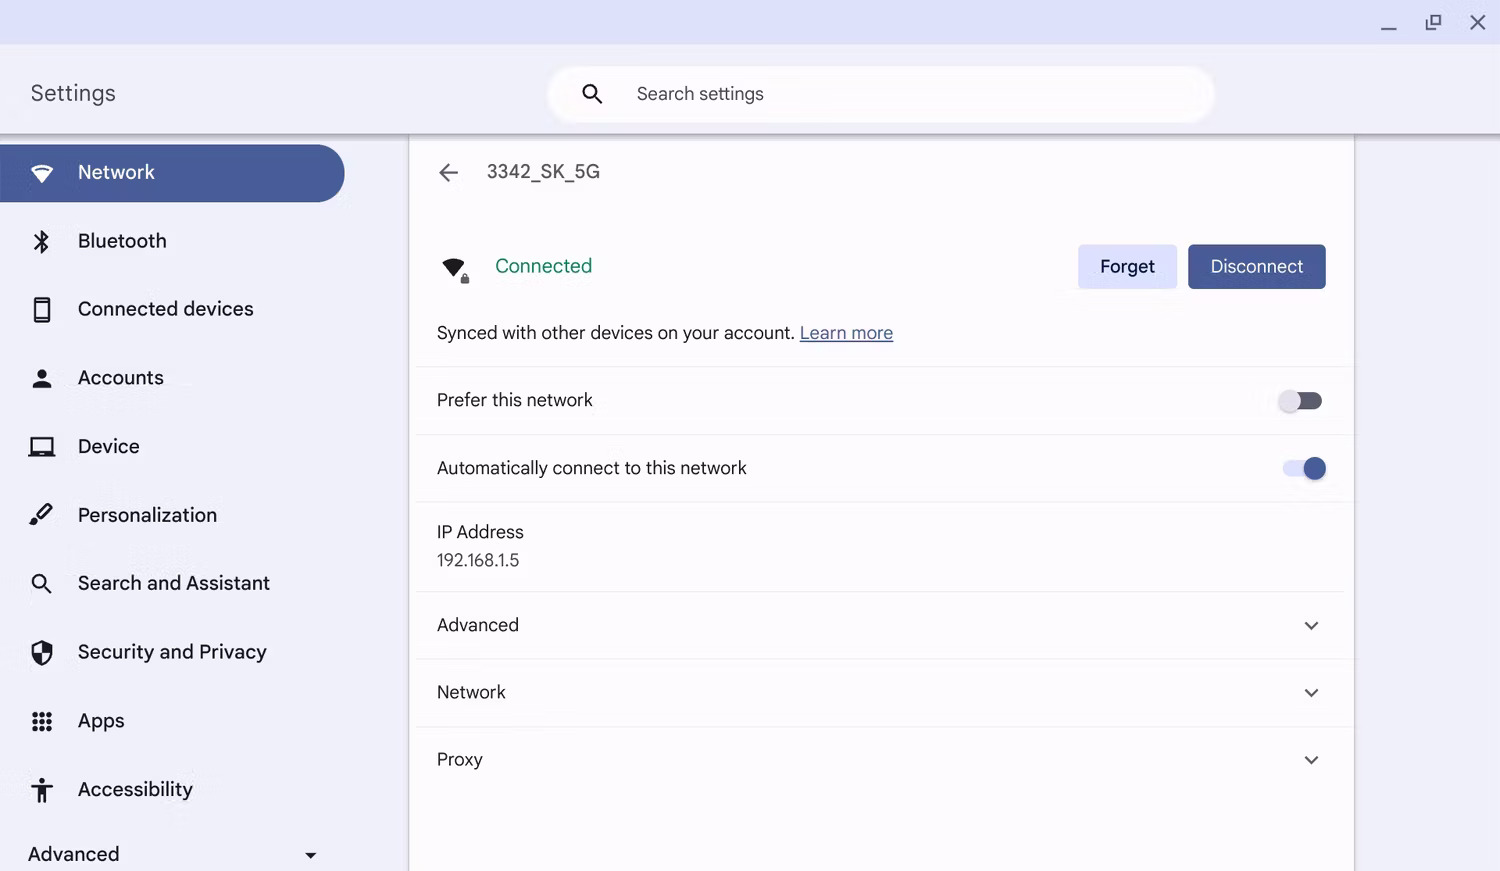
- Open the Settings tab from the Chromebook main menu.
- Click on Network.
- Select the WiFi name you want to forget.
- Click the Forget button to delete the connection information for that WiFi name.
- Let the network list refresh.
- Once the Wi-Fi name appears, click on the network name again.
- In the Join Wi-Fi network dialog box, enter the network password.
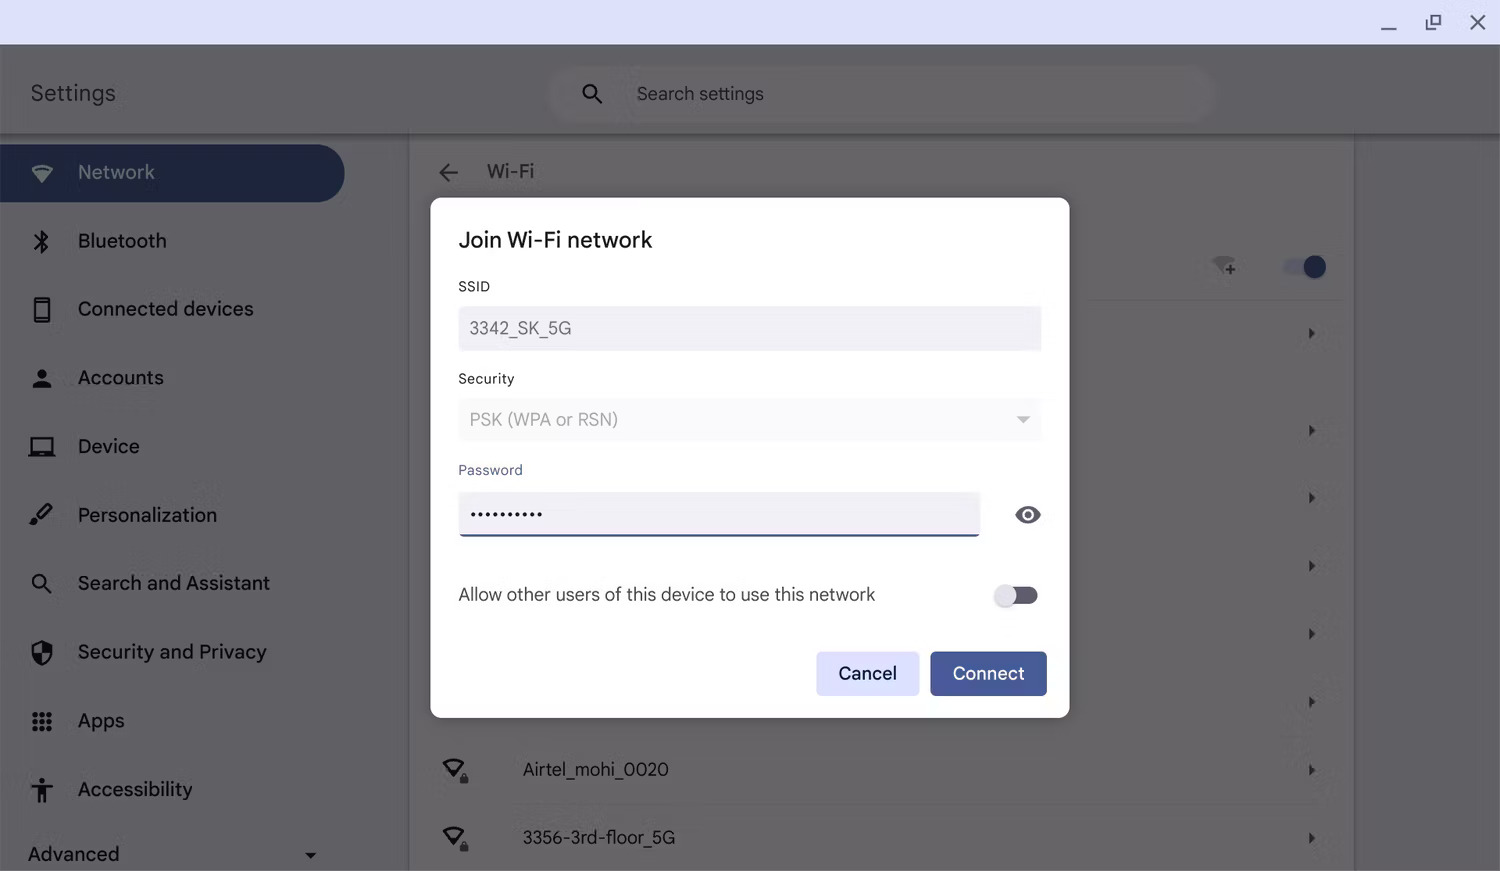
- Click Connect after completing.
To take full advantage of your router's potential, you can research its functions and how to use it thoroughly.
Run Chrome Connectivity Diagnostics
Chrome Connectivity Diagnostics is a useful utility to test network connections and troubleshoot errors. After running this tool, you can identify and fix issues such as port blocking, network latency, WiFi signal strength, and many other connection-related problems. This helps improve your internet experience.
Here is how to install and run this application on a Chromebook:
1. Access the Chrome Connectivity Diagnostics extension from the Chrome Web Store.
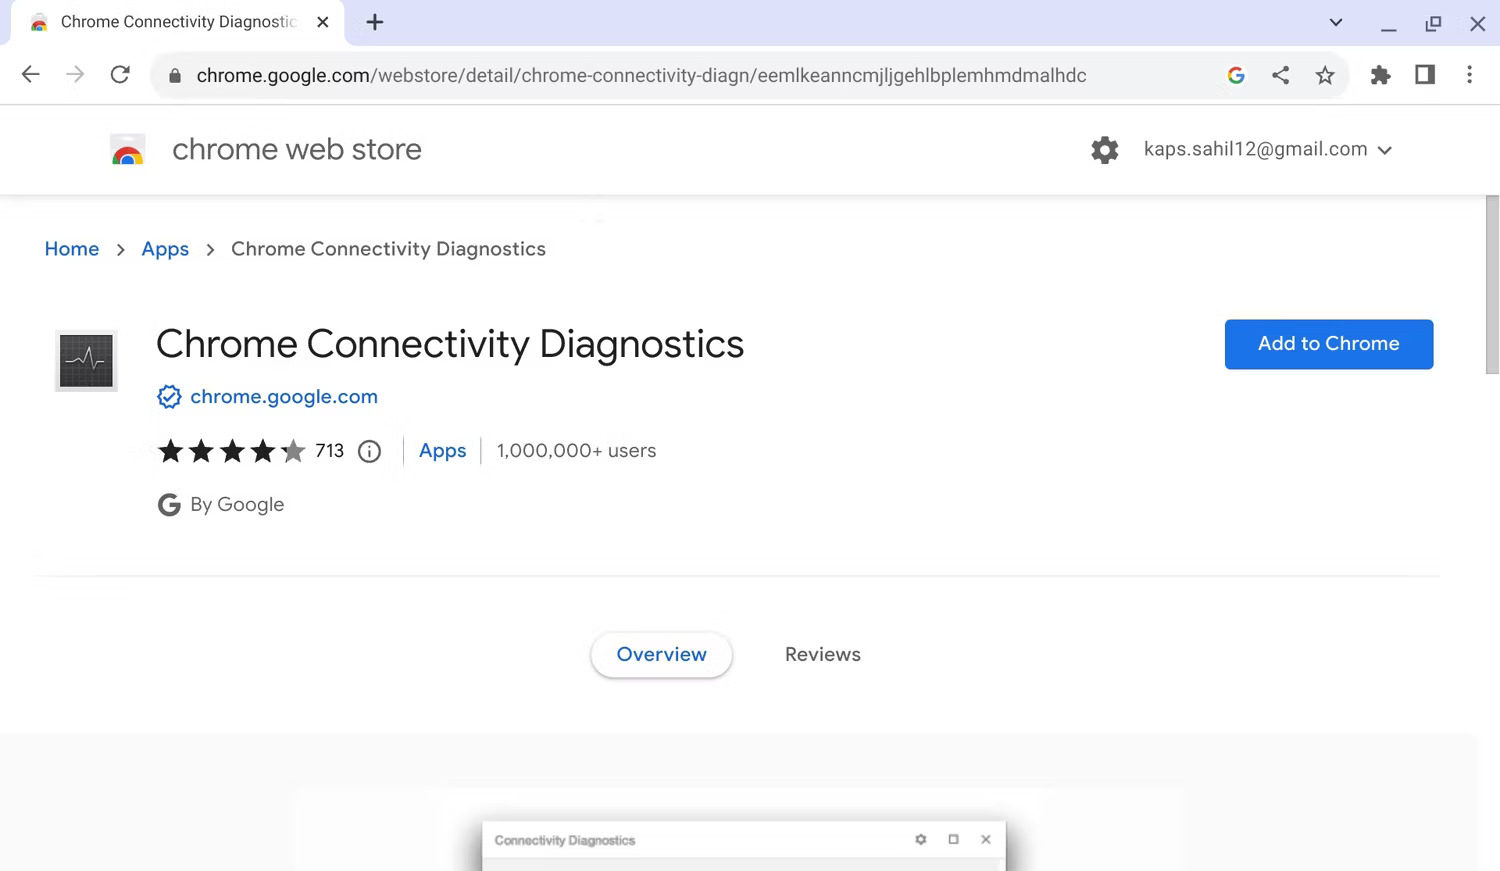
2. Click the Add to Chrome button.
3. In the next dialog box, click the Add App button.
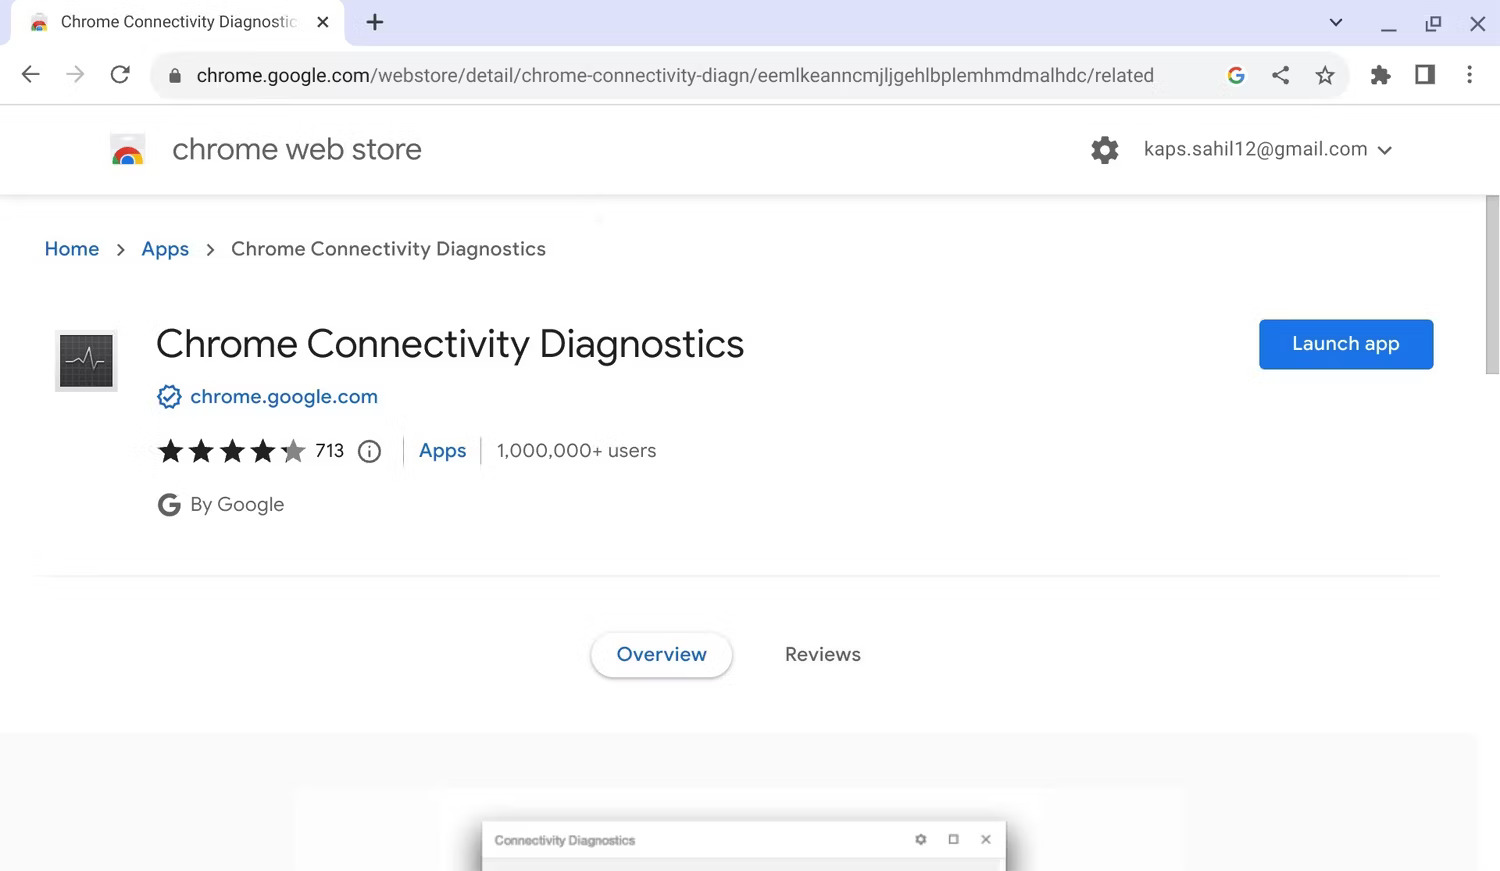
4. After installation, click the Launch app button.
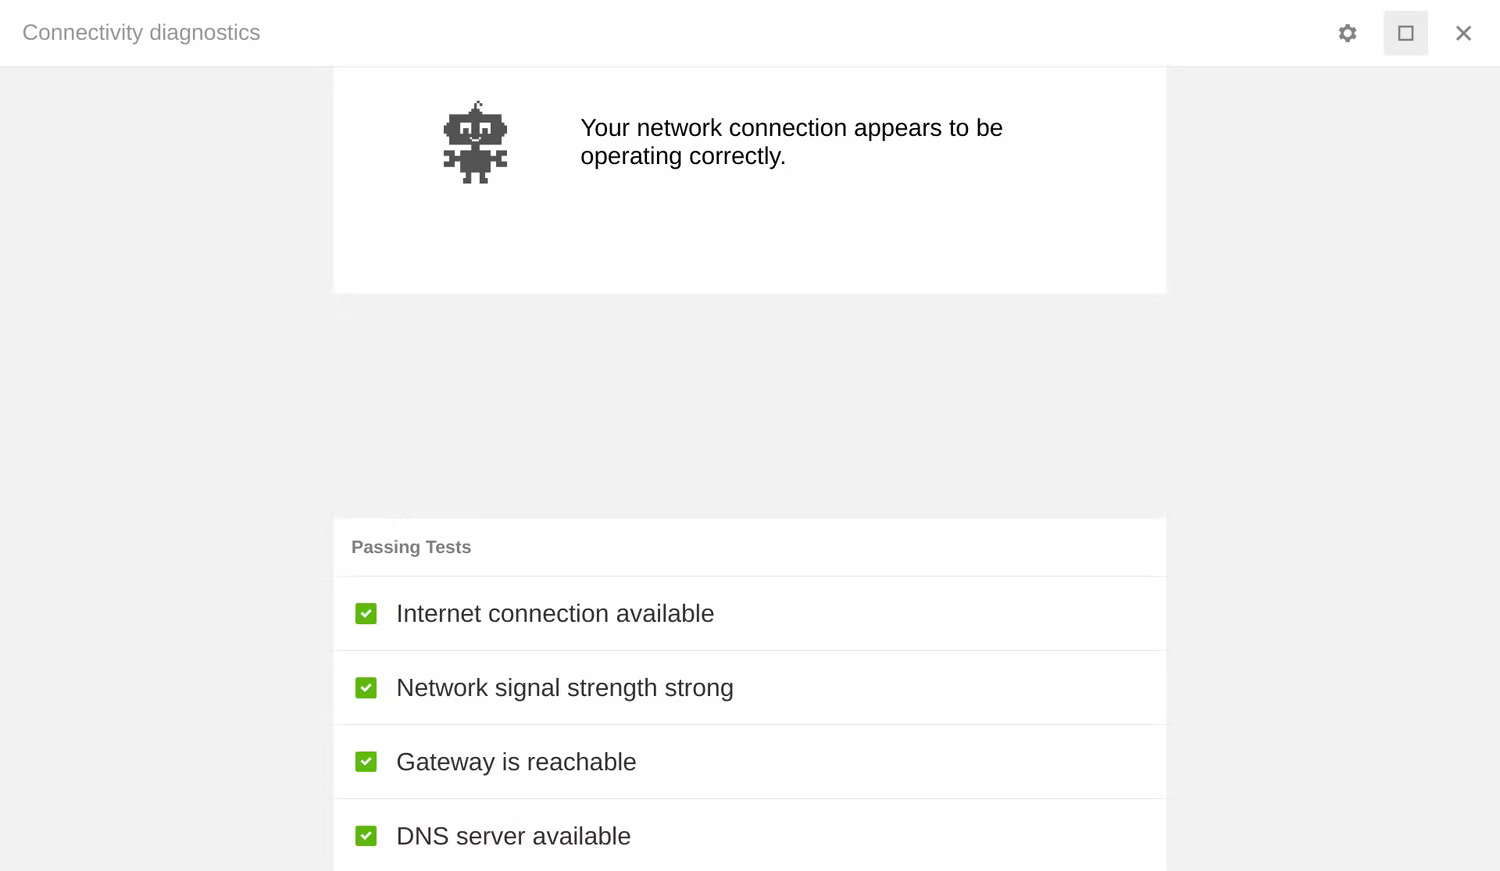
5. Wait for the tool to run a series of necessary tests.
6. Depending on the issues found during the troubleshooting phase, it will provide action notifications for you.
Factory reset Chromebook
If the above methods do not help, you can try restarting your Chromebook and reconnecting to the WiFi network. After restarting, if the problem persists, you can perform a hard reset.
To perform a hard reset, you can follow these steps:
- Turn off the Chromebook.
- Hold the Power button for a few seconds.
- Press the Refresh and Power buttons simultaneously to restart the machine.
- Release the Refresh button after the machine restarts.
Note: Remember to back up your device before performing a hard reset, as you may lose data.
Check router connection on other devices
Finally, if you have tried all methods and still haven't succeeded, try connecting another device to the WiFi network. If you encounter issues with the network, it might be unable to connect. In this case, restart the router, as this often resolves most connection problems.
It is important to check if the WiFi connection is stable. Fix any WiFi network issues before attempting to reconnect.











