

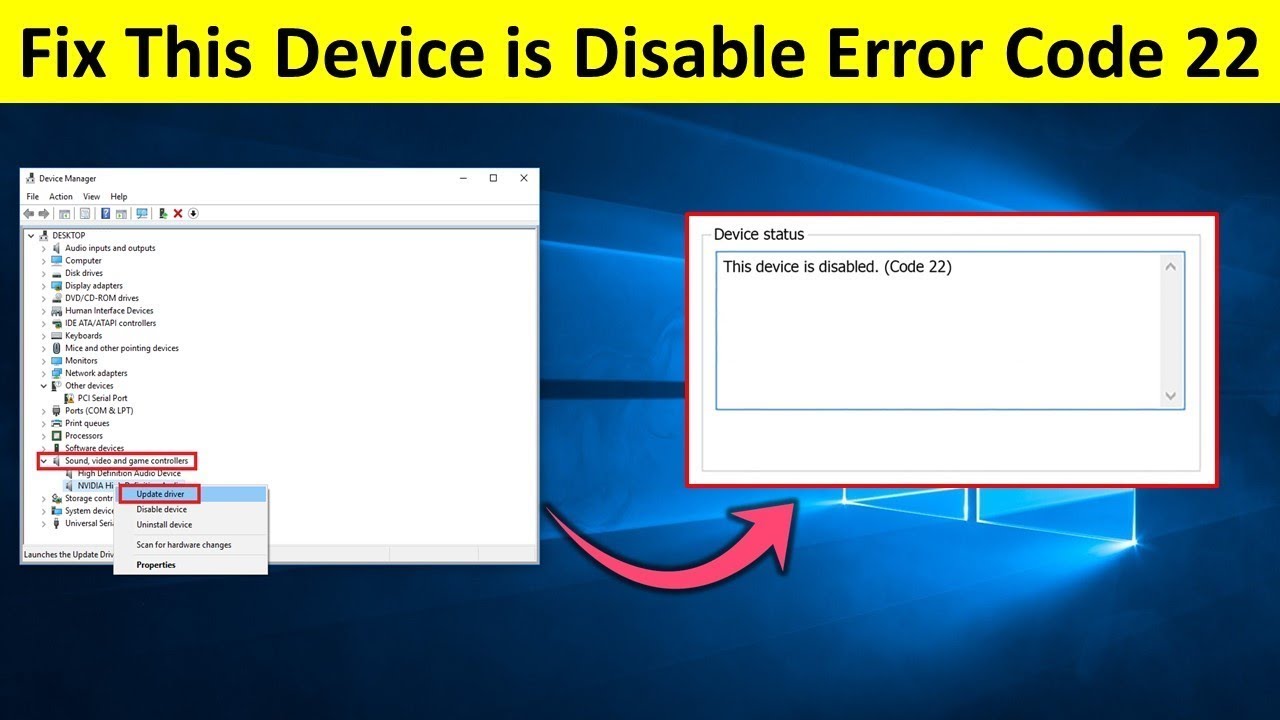
Are you encountering the "This Device is Disabled (Code 22)" error on Windows 11 when connecting an external device to your computer? This is a common Device Manager error that prevents you from using your device.
Fortunately, fixing error code 22 on Windows 11 is quite easy. Let's look at how to quickly fix this error on Windows!
1. Enable the device in Device Manager on Windows 11
One of the simplest ways to fix error code 22 is to manually enable the device causing the error. To do this, open Device Manager on Windows 11, right-click on the problematic device, and select Properties. Then, click the Enable Device button.
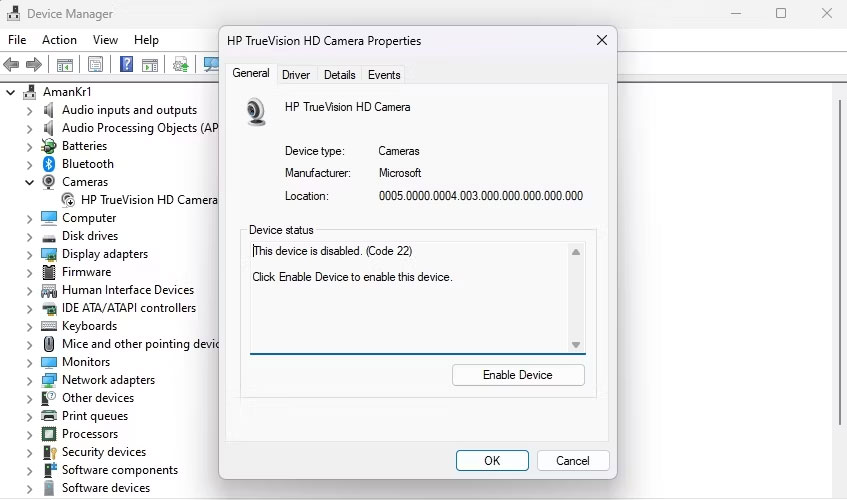
Device Manager will refresh, and the device should come back online. Check to see if you still receive the error message. If you do, try the next solution on the list.
2. Check for physical damage on the device
The error message can also stem from physical damage to your device. To confirm this, look for cracks, dents, or other signs of damage on the device. If you are using a connector, ensure that it is not bent.
You should also look for signs of liquid damage, such as corrosion or discoloration on your device. If you find any physical damage, it is very likely the culprit behind the error message. In this case, the best thing you can do is replace the device.
3. Update device drivers
If your device driver is outdated or corrupted, you are more likely to experience hardware device issues, such as error code 22. The solution in this case is to update your device driver.
To do this, open the Settings app. On the left side of the window, select Windows 11 Update. Then, click the Check for updates button.
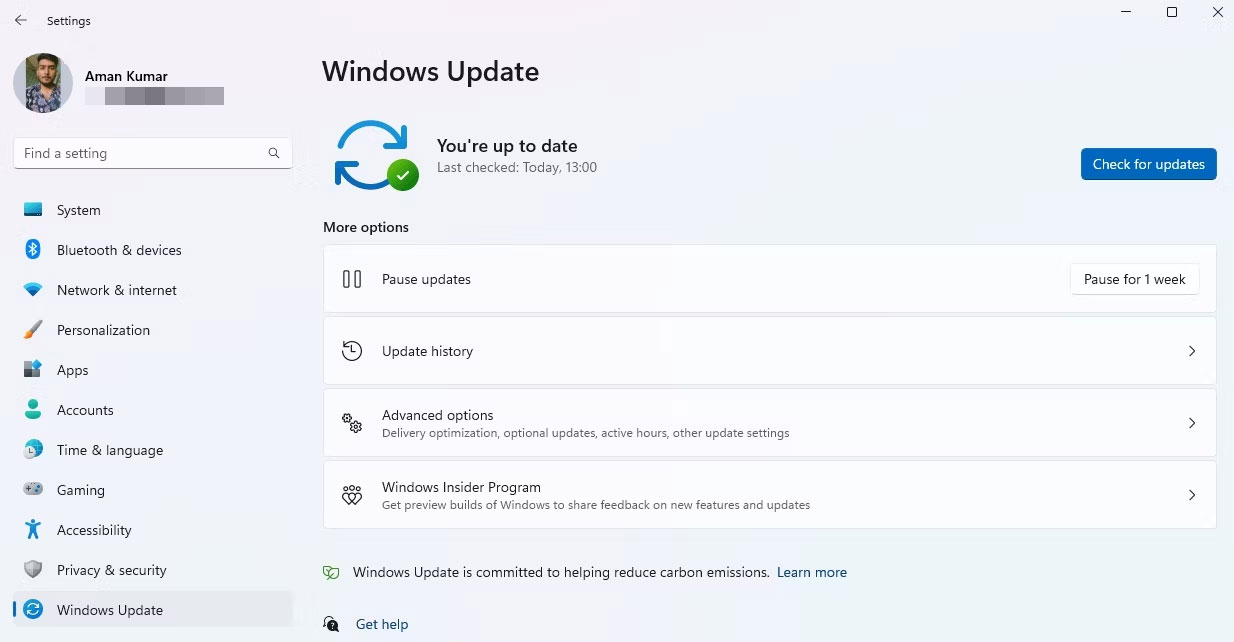
Your computer will now check Microsoft servers for updates for the current operating system, including its drivers. If any updates are found, they will be downloaded and installed automatically. If not, you will see a message stating You're up to date.
4. Use the Hardware and Device Troubleshooter
Windows comes with several troubleshooters that can help you fix various issues. One of them is the Windows 11 Hardware and Device Troubleshooter, which, as the name suggests, helps fix hardware issues.
While it doesn't guarantee a fix, it is still worth running this tool when you encounter any hardware-related issues. To run the Hardware and Device Troubleshooter, press Win + R to open the Run dialog, type the following command, and press Enter:
msdt.exe -id DeviceDiagnosticThen, select the Apply repairs automatically option and click Next to follow the step-by-step instructions.
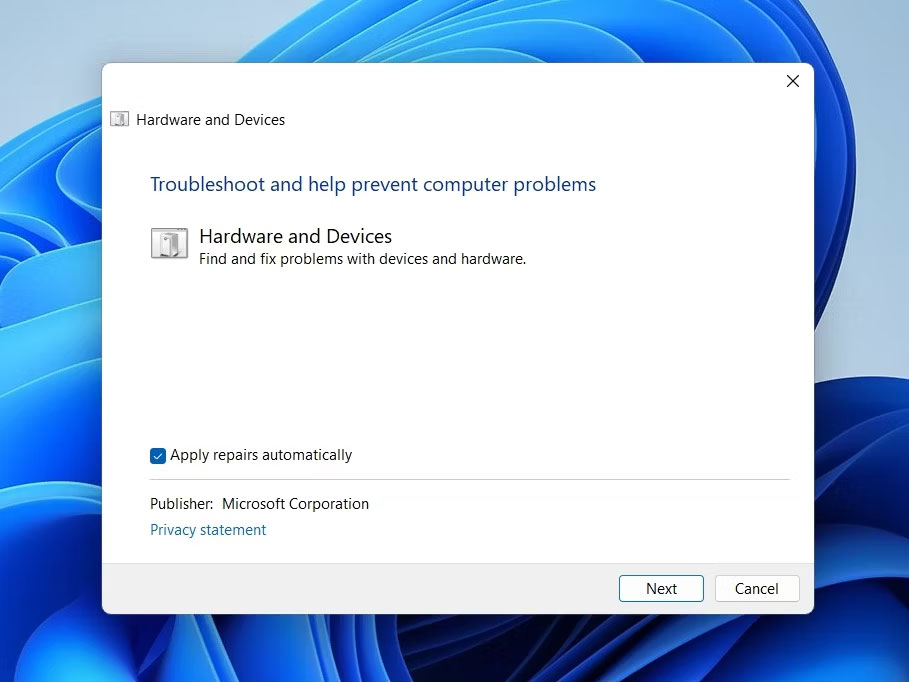
Once the wizard is complete, the troubleshooter will inform you of any detected issues and how to fix them.
5. Clear the computer's CMOS
Another way to fix the "This Device is Disabled (Code 22)" error is to clear the CMOS. Doing this can be helpful if a recent change in your BIOS settings caused the issue. You can clear the CMOS by following the instructions below:
- Remove all external devices connected to your PC.
- Turn off the computer and unplug it from the power outlet.
- Open the back of the computer.
- Remove the CMOS battery, wait a few minutes, and then reinstall the battery. You may need to refer to your PC motherboard's user manual to locate the CMOS battery.
Then, close the computer case and plug all devices back in.
6. Update the computer's BIOS
An outdated BIOS can prevent your PC from working properly with certain devices and can cause errors like code 22.
Therefore, ensure you update your BIOS to prevent any hardware-related issues on your system.
7. Perform a clean boot
The next solution on the list is to perform a clean boot on Windows 11. This will help you rule out third-party applications that might be causing the error.
After performing a clean boot, your computer will start in a clean state. To check if the error message still appears, try using the problematic device. If it does not appear, it is time to narrow down the suspects.
To do this, start re-enabling the services you disabled for the clean boot one by one until the error returns. When you find the problematic service, consider uninstalling or downloading an update for that service.
8. Perform a system restore on Windows 11
If you still encounter the error, you can try a system restore on Windows 11 to see if that fixes your problem. This action will restore your computer to a previous point in time, which is very useful if the issue occurred recently.











