

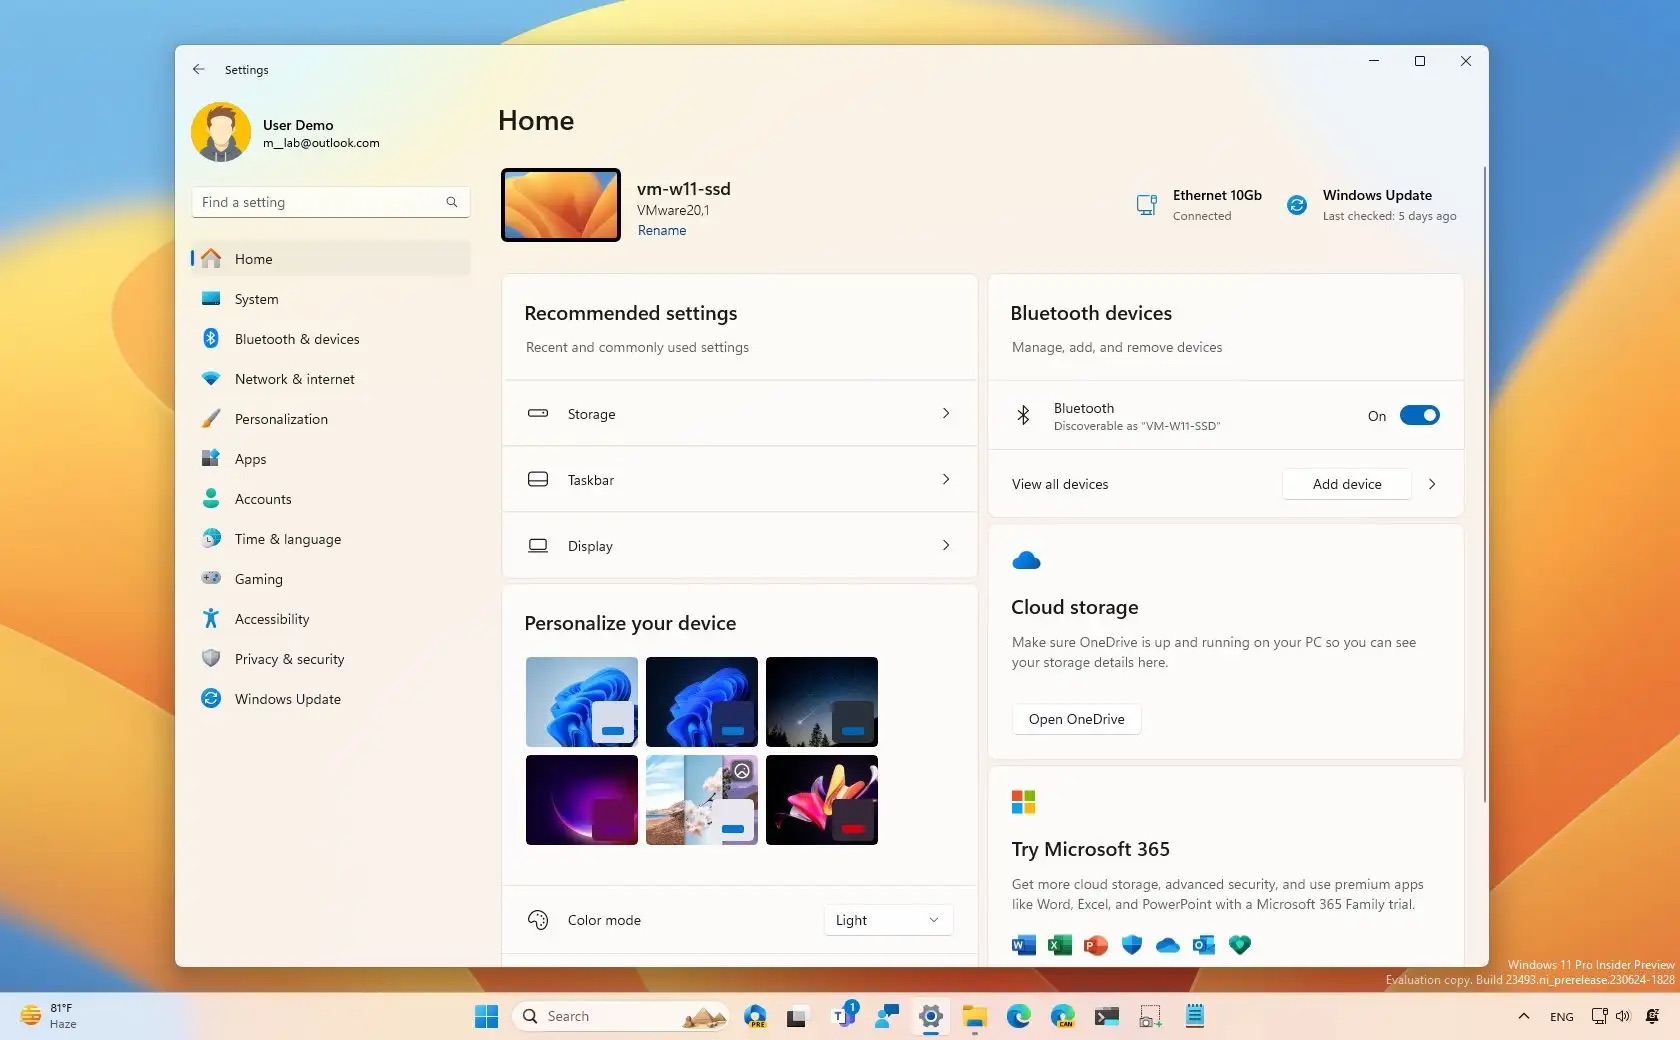
Microsoft introduced the Settings app in Windows 8 and has since worked to improve its overall usability. Its design has undergone several changes, and the new design in Windows 11 looks much better due to better feature organization and user interface.
However, this is not just an aesthetic change, as many utilities and items from the Control Panel have been moved to the Settings app. Microsoft has also released another version of the Settings app that incorporates a new Home section and a layout that helps you access your most commonly used settings. Learn how to enable it on your PC!
Follow these steps to enable and use the Home section in the Settings app:
1. Download the latest Windows 11 Insider build and ViveTool
The new Settings app with the Home section is available in the Windows 11 Insider Dev build 23493. Therefore, you must update your PC registered in the Dev channel to build version 23493 or higher. If you do not want to register your PC for the Windows Insider program or want to test the build in a virtual machine, there is an easy way.
You can use UUP DUMP to download Windows 11 Insider builds without registering for the Windows 11 Insider program. Once the download is complete, you will need to perform an in-place upgrade or create a bootable USB to install the Dev build on your PC.
The advanced Settings app with the Home section is not directly available in build 243943. Therefore, you must use ViveTool to enable the experimental feature. All you need to do is download ViveTool from GitHub.
Once the download is complete, navigate to the download location using File Explorer and extract the contents of the archive into a folder named "Vive". Move the folder containing Vivetool to the C drive.
2. Enable the Home section in the Settings app
After updating your Windows 11 PC and installing Vivetool, follow these steps:
1. Press Win + R to open the Run dialog box. Type cmd into the text box and press Ctrl + Shift + Enter simultaneously.
2. The User Account Control window will appear. Click the Yes button.
3. First, you need to switch to the drive where you extracted Vivetool. Type cd c: in the Command Prompt window and press the Enter key to execute the command.
4. Now, you need to switch to the folder containing Vivetool. Since the article extracted the tool into a folder named “Vive”, the command in the example will be: cd vive.
5. Type vivetool and press the Enter key to check if the tool runs perfectly.
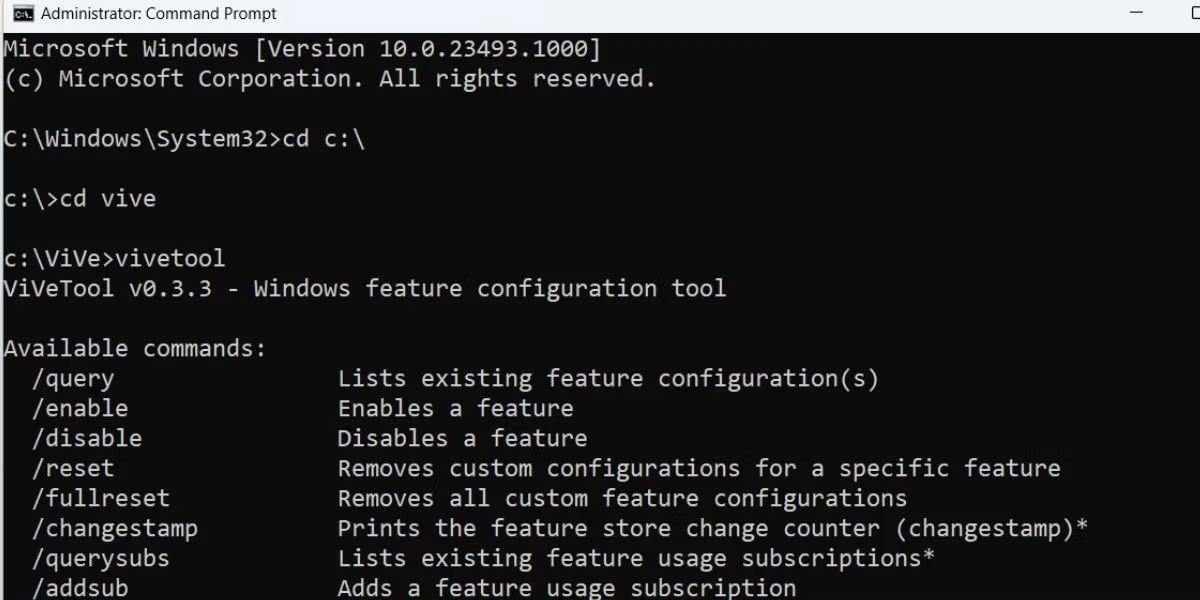
6. Now, type the following commands and press the Enter key to execute them one by one:
vivetool /enable /id:42058345vivetool /enable /id:42058313
7. Close the Command Prompt window.
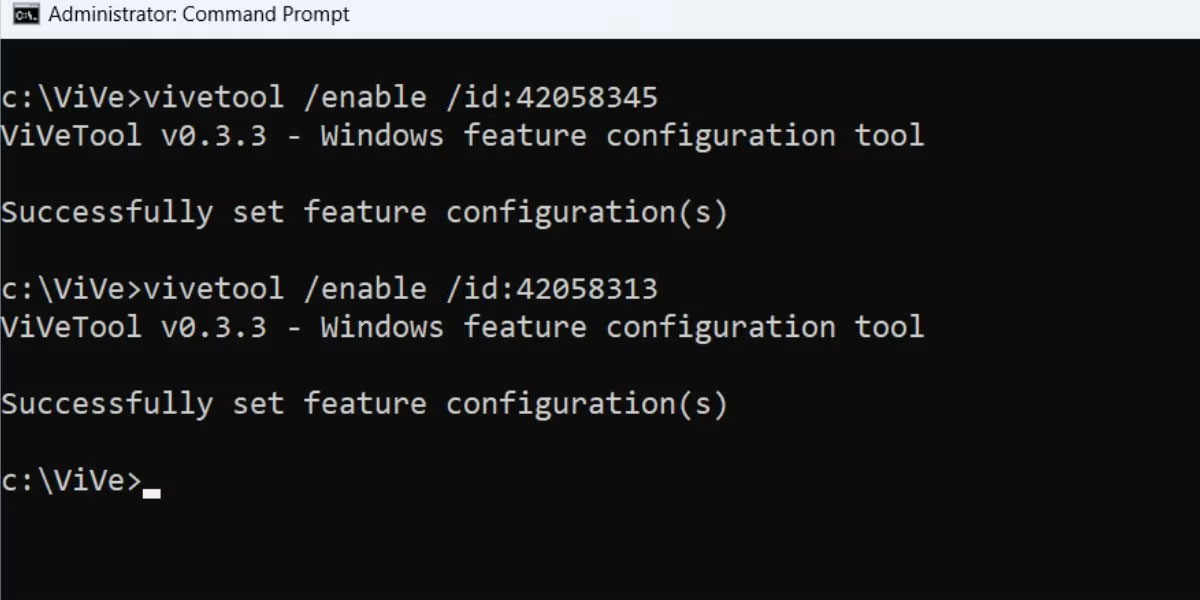
8. Restart your PC to apply the changes made by Vivetool in the Settings app.












How to turn off home settings on Oppo A52
This method only applies to Windows computers.